Important: Make sure you install the sensor pockets in accordance with
the installation principles: pockets are
important for the correct functioning of the sensors. If they are misaligned or
if the pocket hides the sensor signal, you will have issues receiving
data.
Important: We strongly recommend to have alignment bars inside the
pockets to hold the sensor in the correct position.
Important: Take care to gather as much information as possible from the
trawl doors manufacturer before installation. Such as the angle of attack and
towing angle.
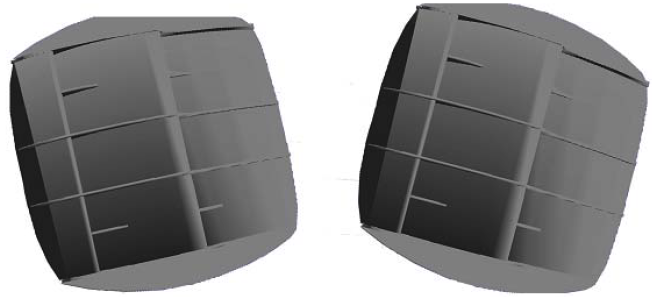
Note: If your door model have the doors rigged “nose up” or “nose down”, you
need to change the angle of the door pockets so that the sensor always
point toward the bottom of the ship when being towed.Figure 1. Nose down (left) and nose up (right)
Note: If you use the sensors for bottom trawling, install pockets on
the upper part of trawl doors. Make sure the pocket's position does not
influence too much the center of gravity of the door. Refer to door manufacturer
for details.
Procedure
Use drawings of door pockets to mark the shape to be cut off: Pocket Drawings.
Note: Ask your local Marport sales office for
scaled templates of door pockets.
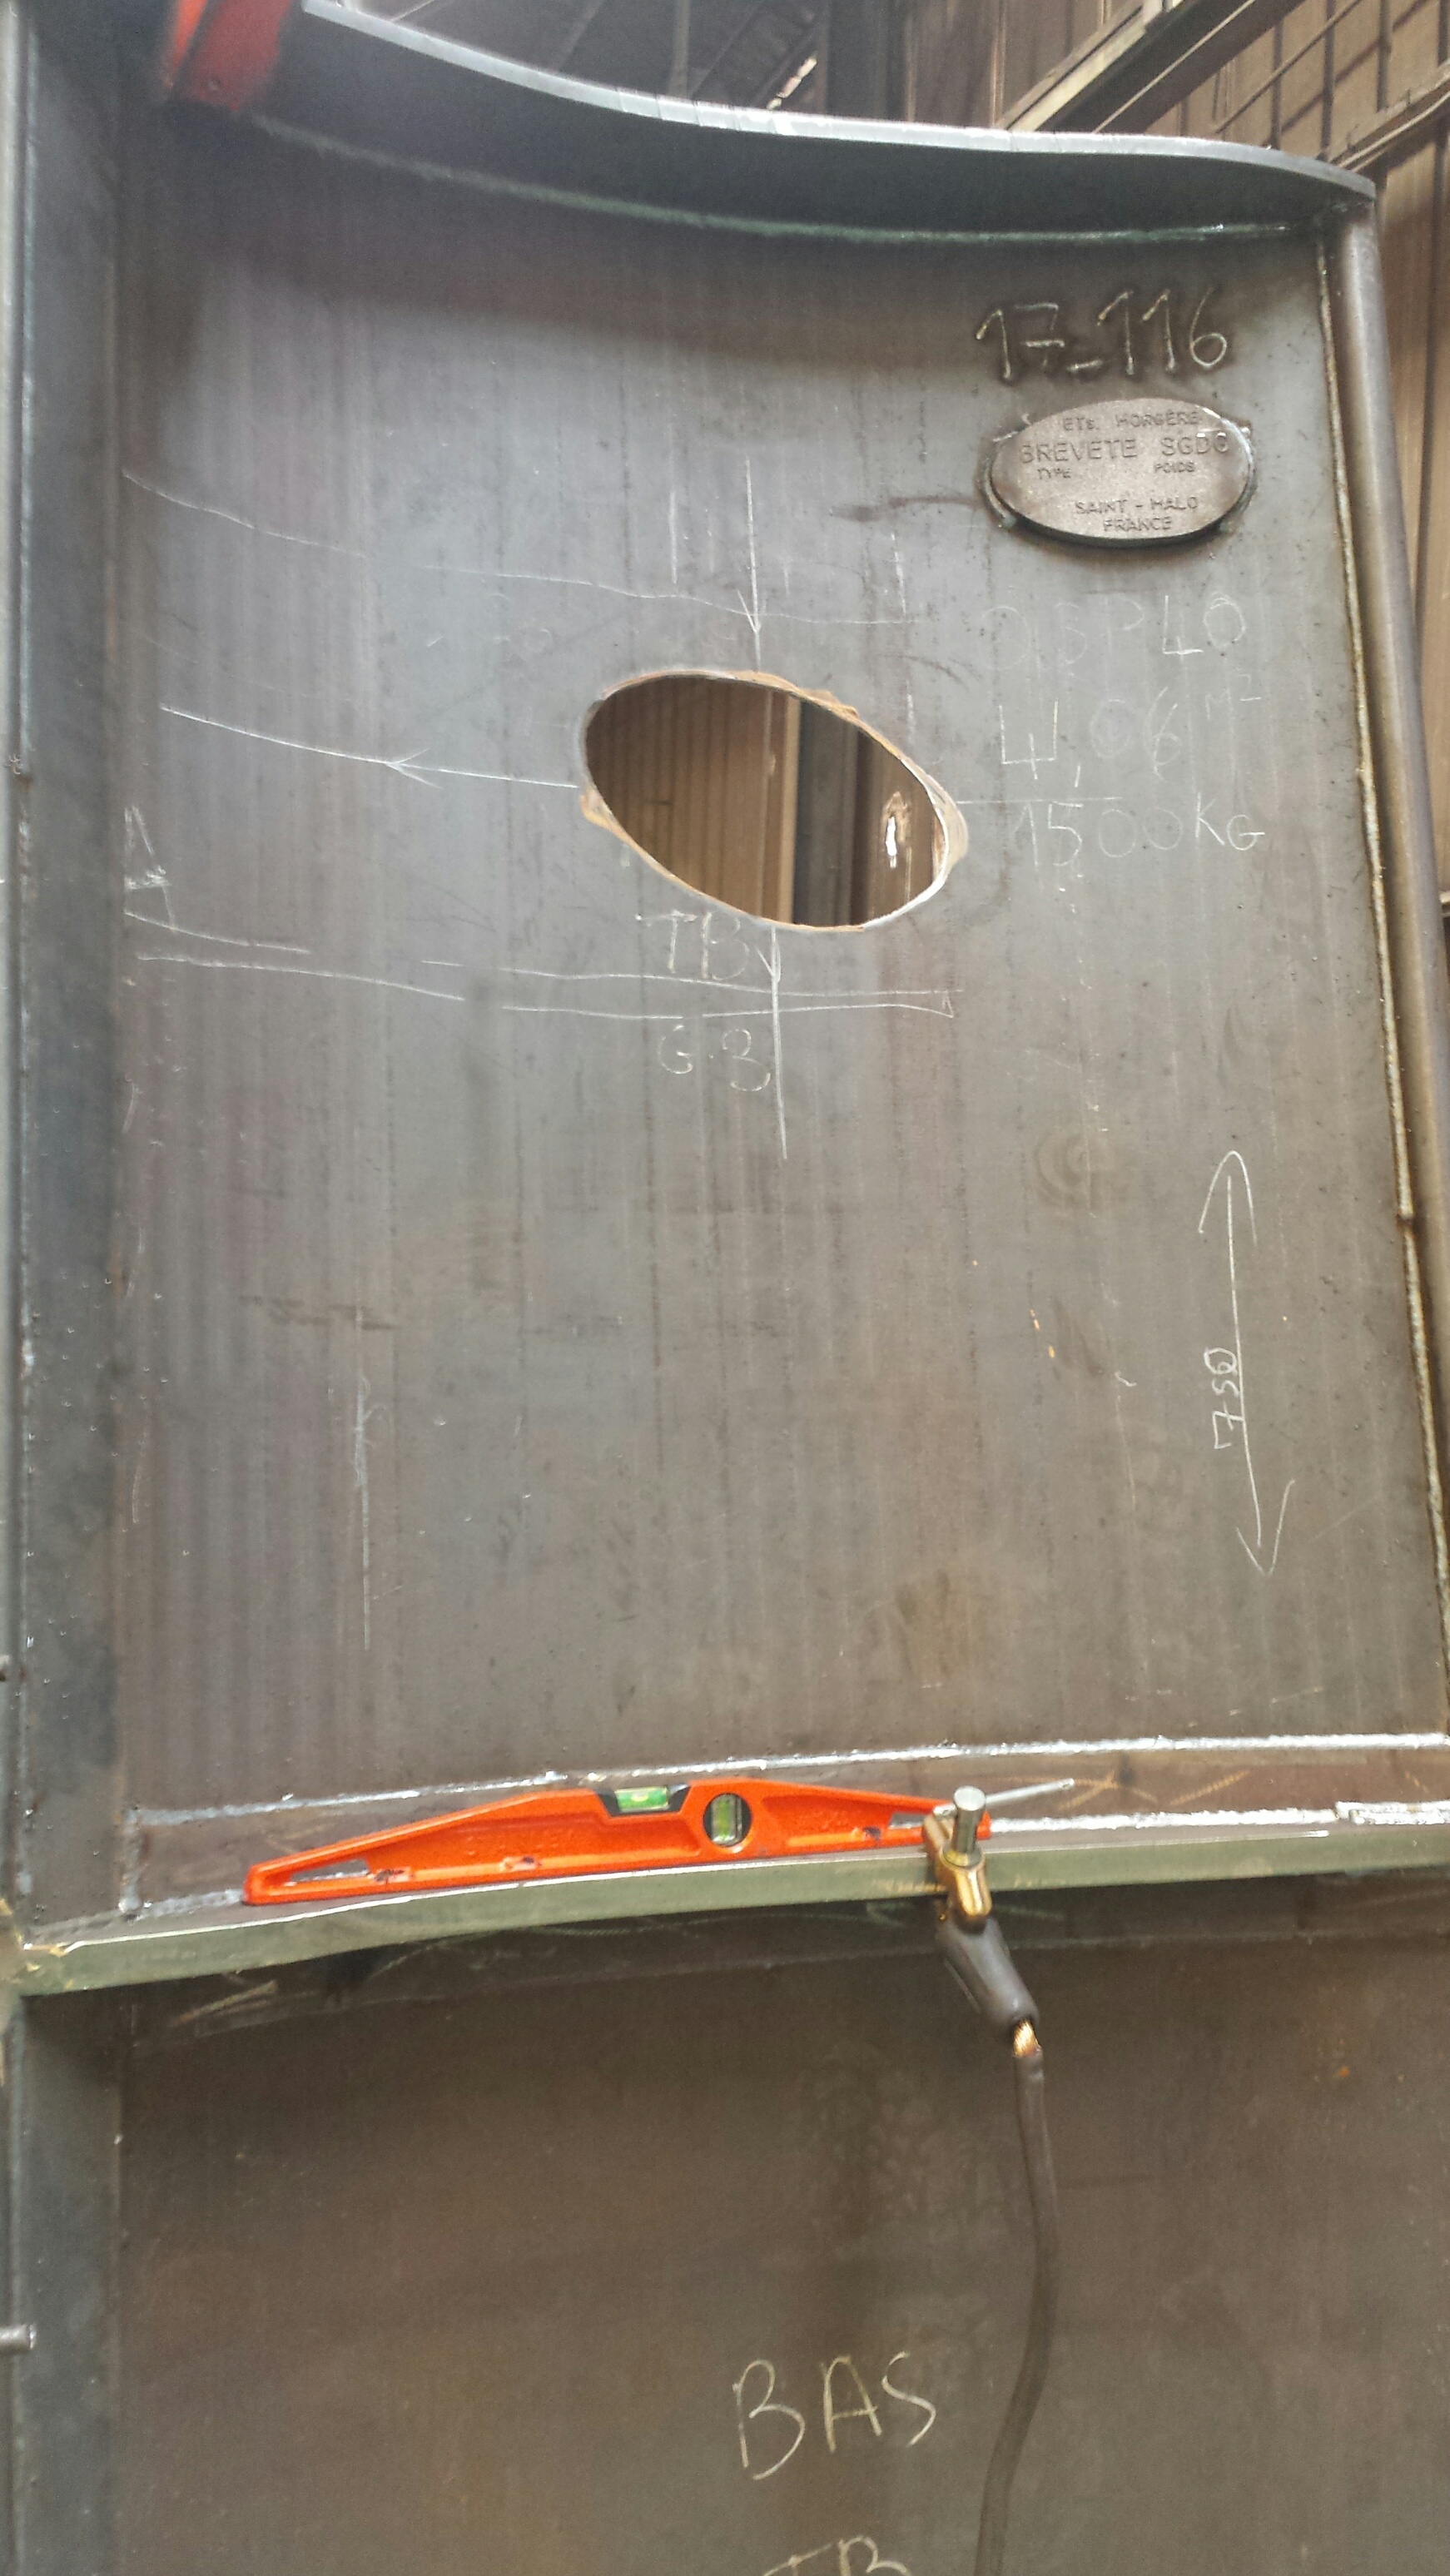
Cut round openings in the doors.
When setting up the alignment bar in the sensor pocket:
Note: Master and Starboard sensors need to be oriented in a way they can
communicate with each other. The alignment bar in the pocket ensures correct
positioning. The housing of the sensors have a slot so they can be inserted
in the alignment bar.
The alignment bar must be downwards on the port door (Master
sensor).
It must be upwards on the starboard door, or clump (Slave or Clump
sensor).
Place the sensor pocket with the bottom portion sticking out of back side of
the door. Adjust accordingly to the elevation angle and angle of attack you need
(see Pocket Angle of Attack). Picture below shows angles of attack
seen from above the door.
You can trace a line with a marker around the pocket at the point it enters the
door to remember the correct position.
Check if
angles are correct:
Weld only a few points on two sides of the pocket to hold it on the
door.
Open Mosa2 software.
Activate and deactivate the water-switch to connect the sensor to
Mosa2 via a wireless signal.
From Mosa2, click the tab
Pitch and Roll.
Click Pitch and Roll Calibration then click
Auto Calibrate. Pitch and roll offset values
change according to the position of the sensor on the door. Pitch should
be between 15 and 20°, roll should be ±5°. Roll may need to be higher
depending on the door model and operation: adjust accordingly.
If you do not have Mosa2
software, manually check the angles.
If values are not correct, move the pocket, then check again.
If values are correct, permanently weld the pocket to the door.
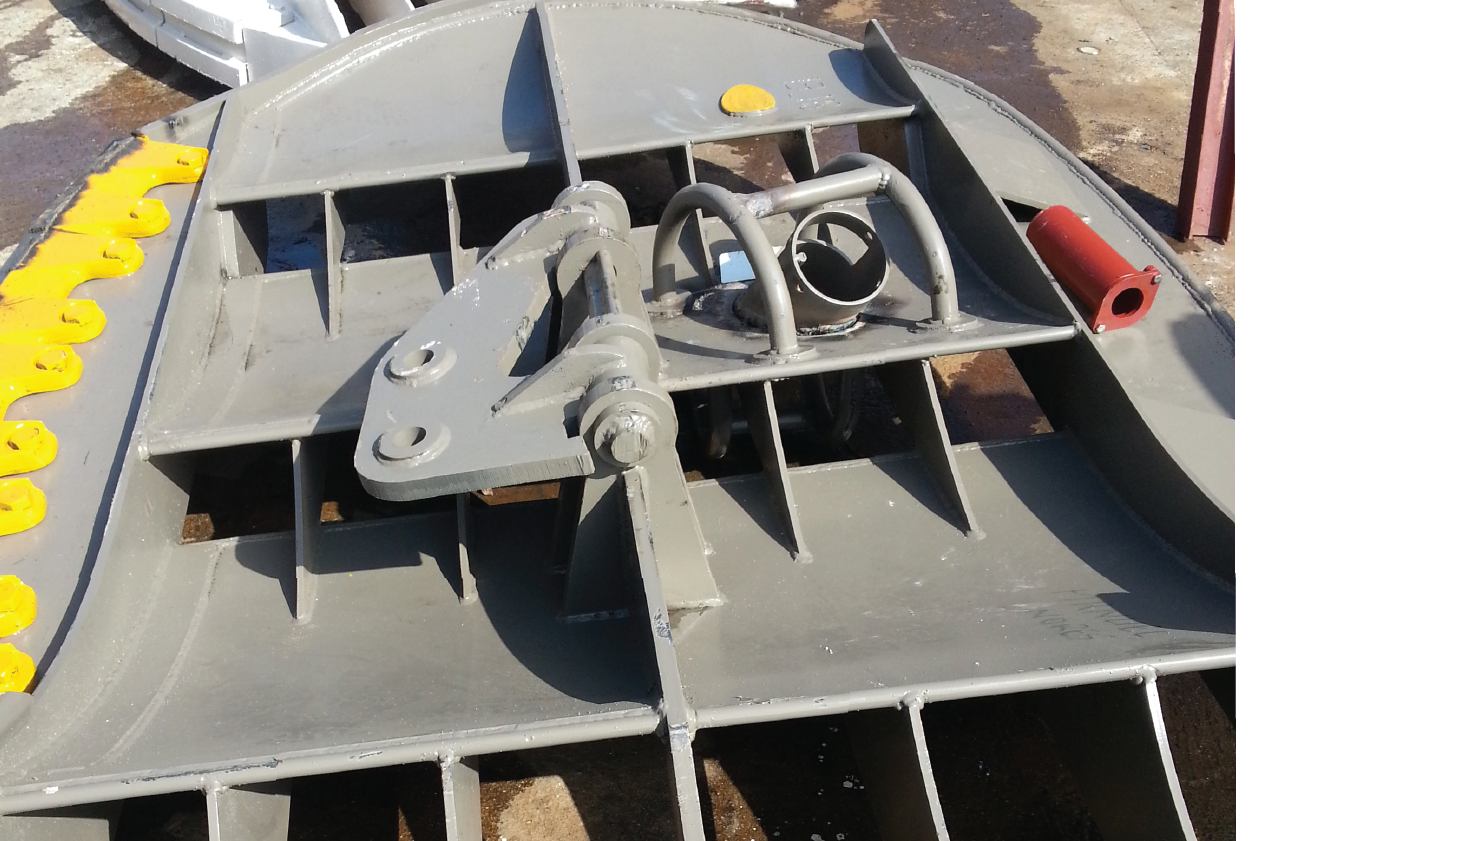
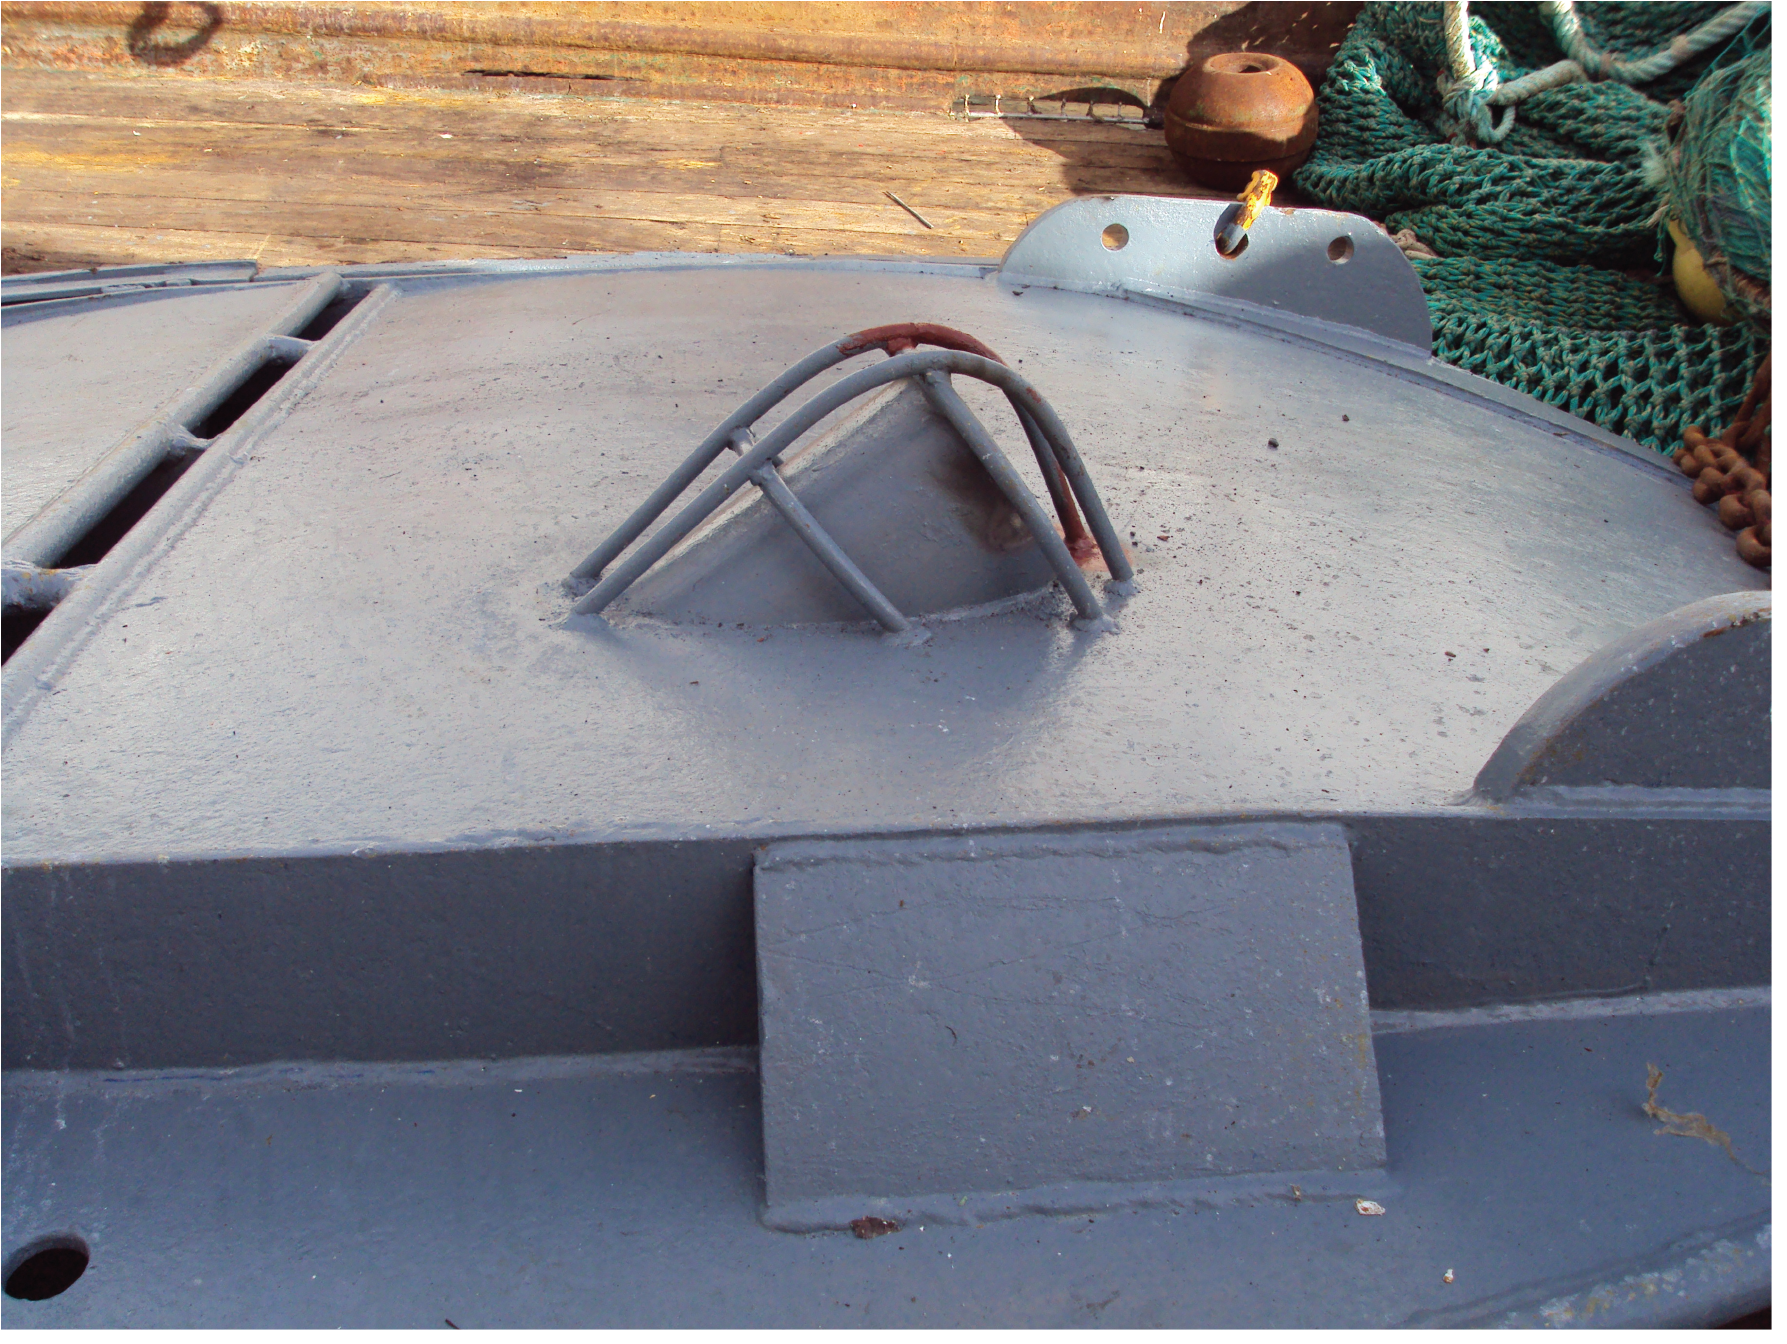
We recommend to use a protective cage made of metal bars around pockets to
protect sensors, like the examples below.
Note: Make sure there is sufficient space between the protective cage and the
sensor pocket, so that if the cage becomes bent, you can still remove the
sensor.


 Note: Make sure there is sufficient space between the protective cage and the sensor pocket, so that if the cage becomes bent, you can still remove the sensor.