Changing the Transducer and End Cap Orientation
 For V1 version of the sensor, you need to change the orientation of the transducer and end cap
of the sensor to correctly receive pitch and roll data.
For V1 version of the sensor, you need to change the orientation of the transducer and end cap
of the sensor to correctly receive pitch and roll data.
Changing the Transducer Orientation
Before you begin
For this task you need the following tools:
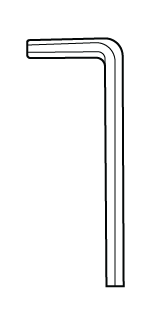
|
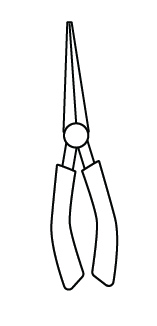
|
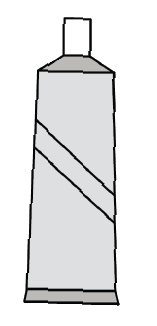
|
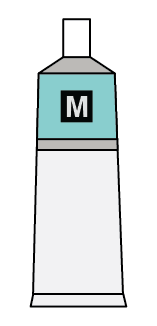
|
| Allen keys: 1.5 mm, 1/8" | Needle nose pliers | Silicon glue | O-ring lubricant (Molykote 55 o-ring grease) |
About this task
Only qualified Marport technicians can do this task.
Procedure
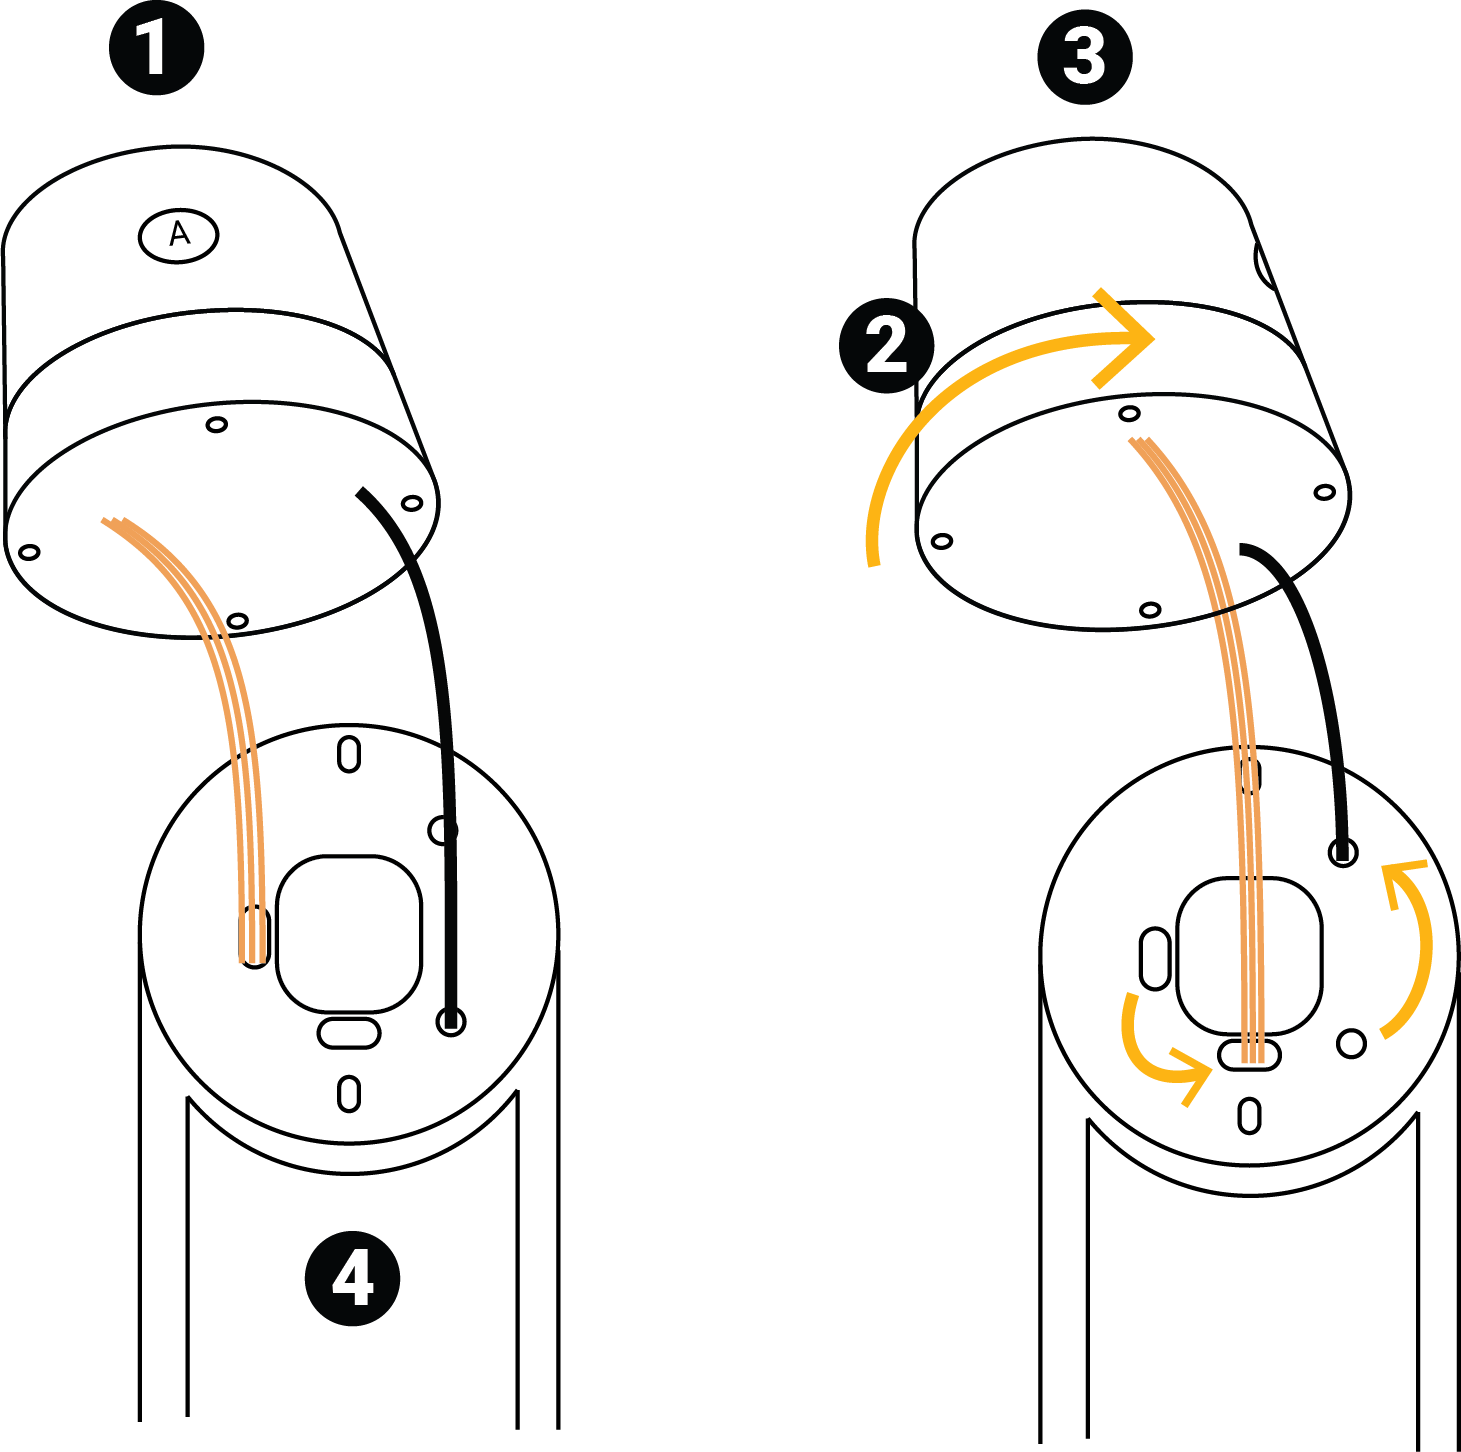
- Disconnect components.
 1. Up & Down connectors / 2.
Uplink connector / 3. Uplink LED
1. Up & Down connectors / 2.
Uplink connector / 3. Uplink LED- Using a 1.5 mm Allen key, remove the four screws holding the retainers that are on the side of PCBA where all the cables are connected.
- Carefully disconnect the up (B), down (A), uplink (C) and uplink LED cable from the PCBA using needle nose pliers.
- Remove the transducer.

- Remove the two screws maintaining the transducer with the 1/8" Allen key.
- Remove the transducer and its cables.
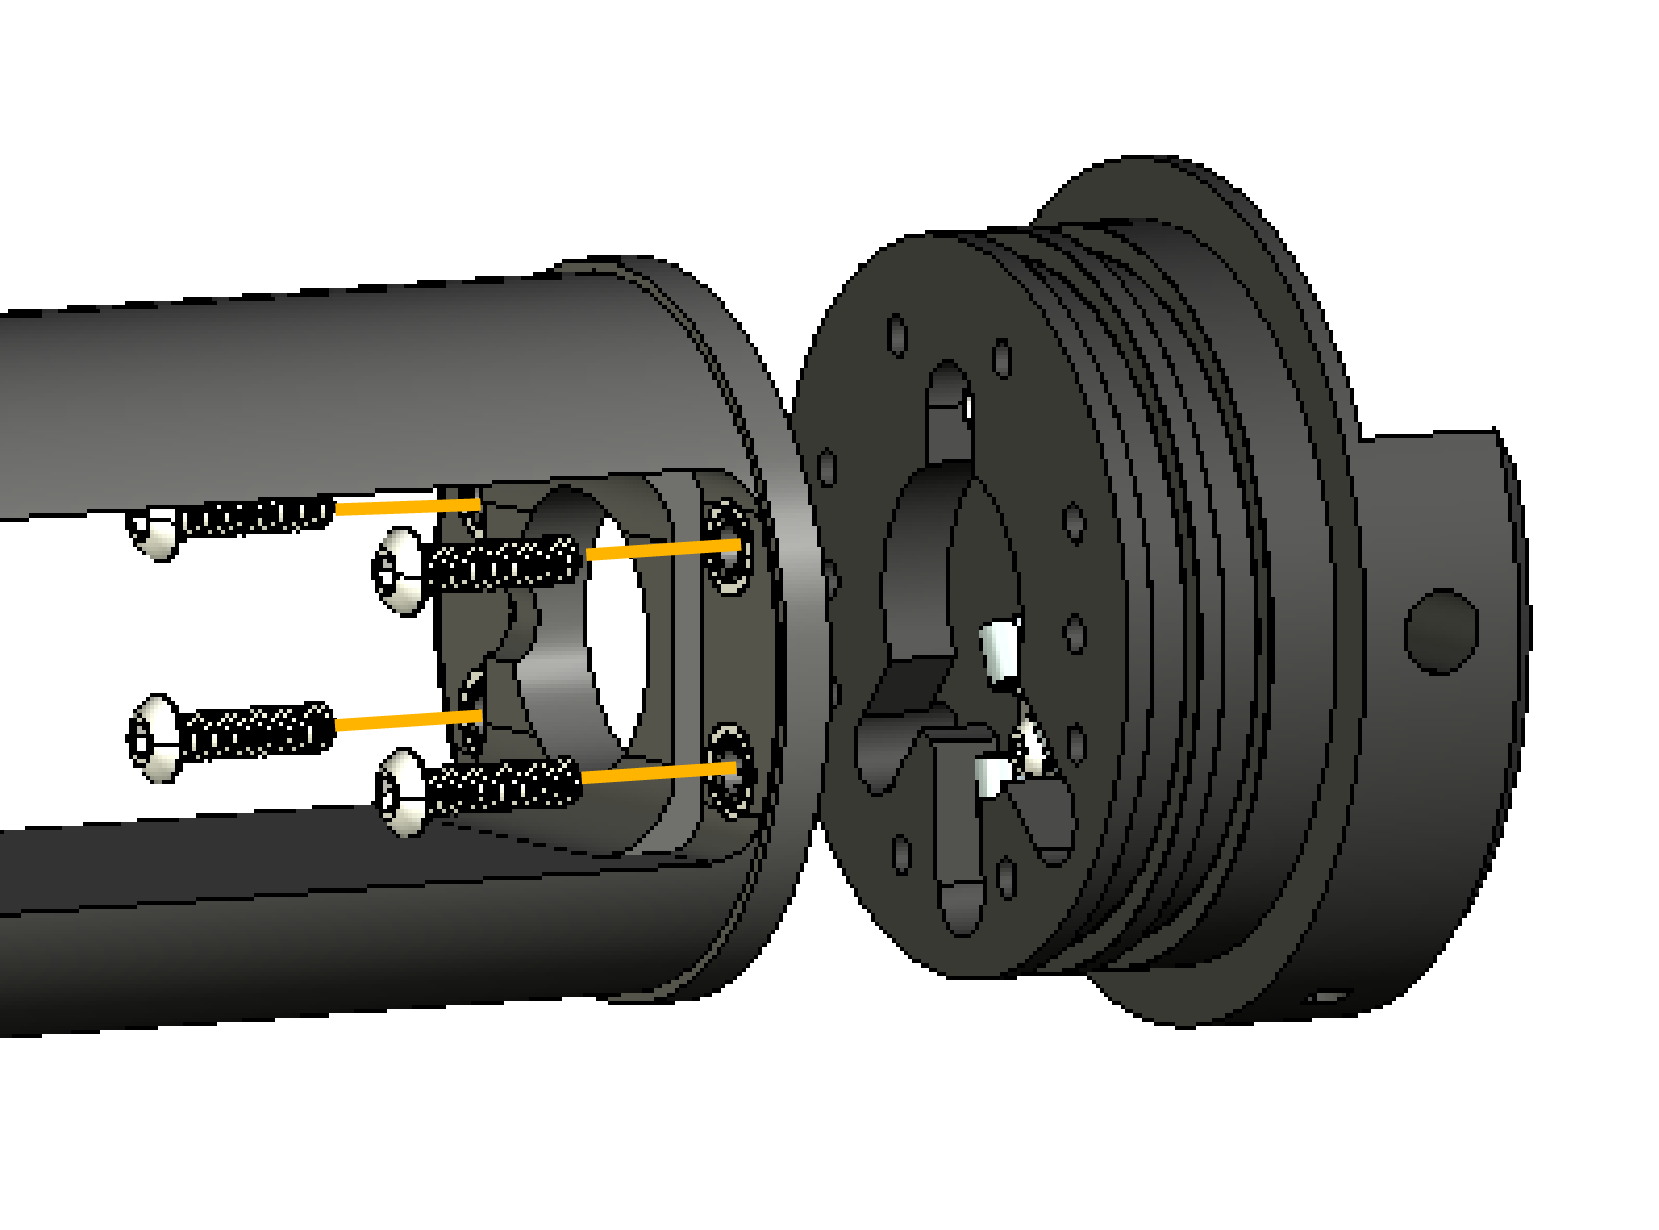
- Turn the transducer.
 1. Before / 2. Turn 90° to the right
/ 3. After / 4. Card slot
1. Before / 2. Turn 90° to the right
/ 3. After / 4. Card slot- Turn to 90° the transducer as shown on the picture.
- With an Allen key, screw back the transducer.
- Reconnect components.1. Up & Down connectors /
2. Uplink connector / 3. Uplink LED
- Connect the uplink LED cable to the uplink LED connector.
- Connect the up (B), down (A) and uplink (C) cables and add silicone glue.
- Reconnect the batteries.Tip: If you have a doubt, the cable types are written on them and their location is written on the PCBA.
- Put back into place the PCBA retainers and screw with the 1.5 mm Allen key.
What to do next
You need to change the end cap orientation.
Changing the End Cap Orientation
Procedure
- Remove the end cap.
- Remove the four screws maintaining the end cap with the 1/8" Allen key.
- Turn the end cap.
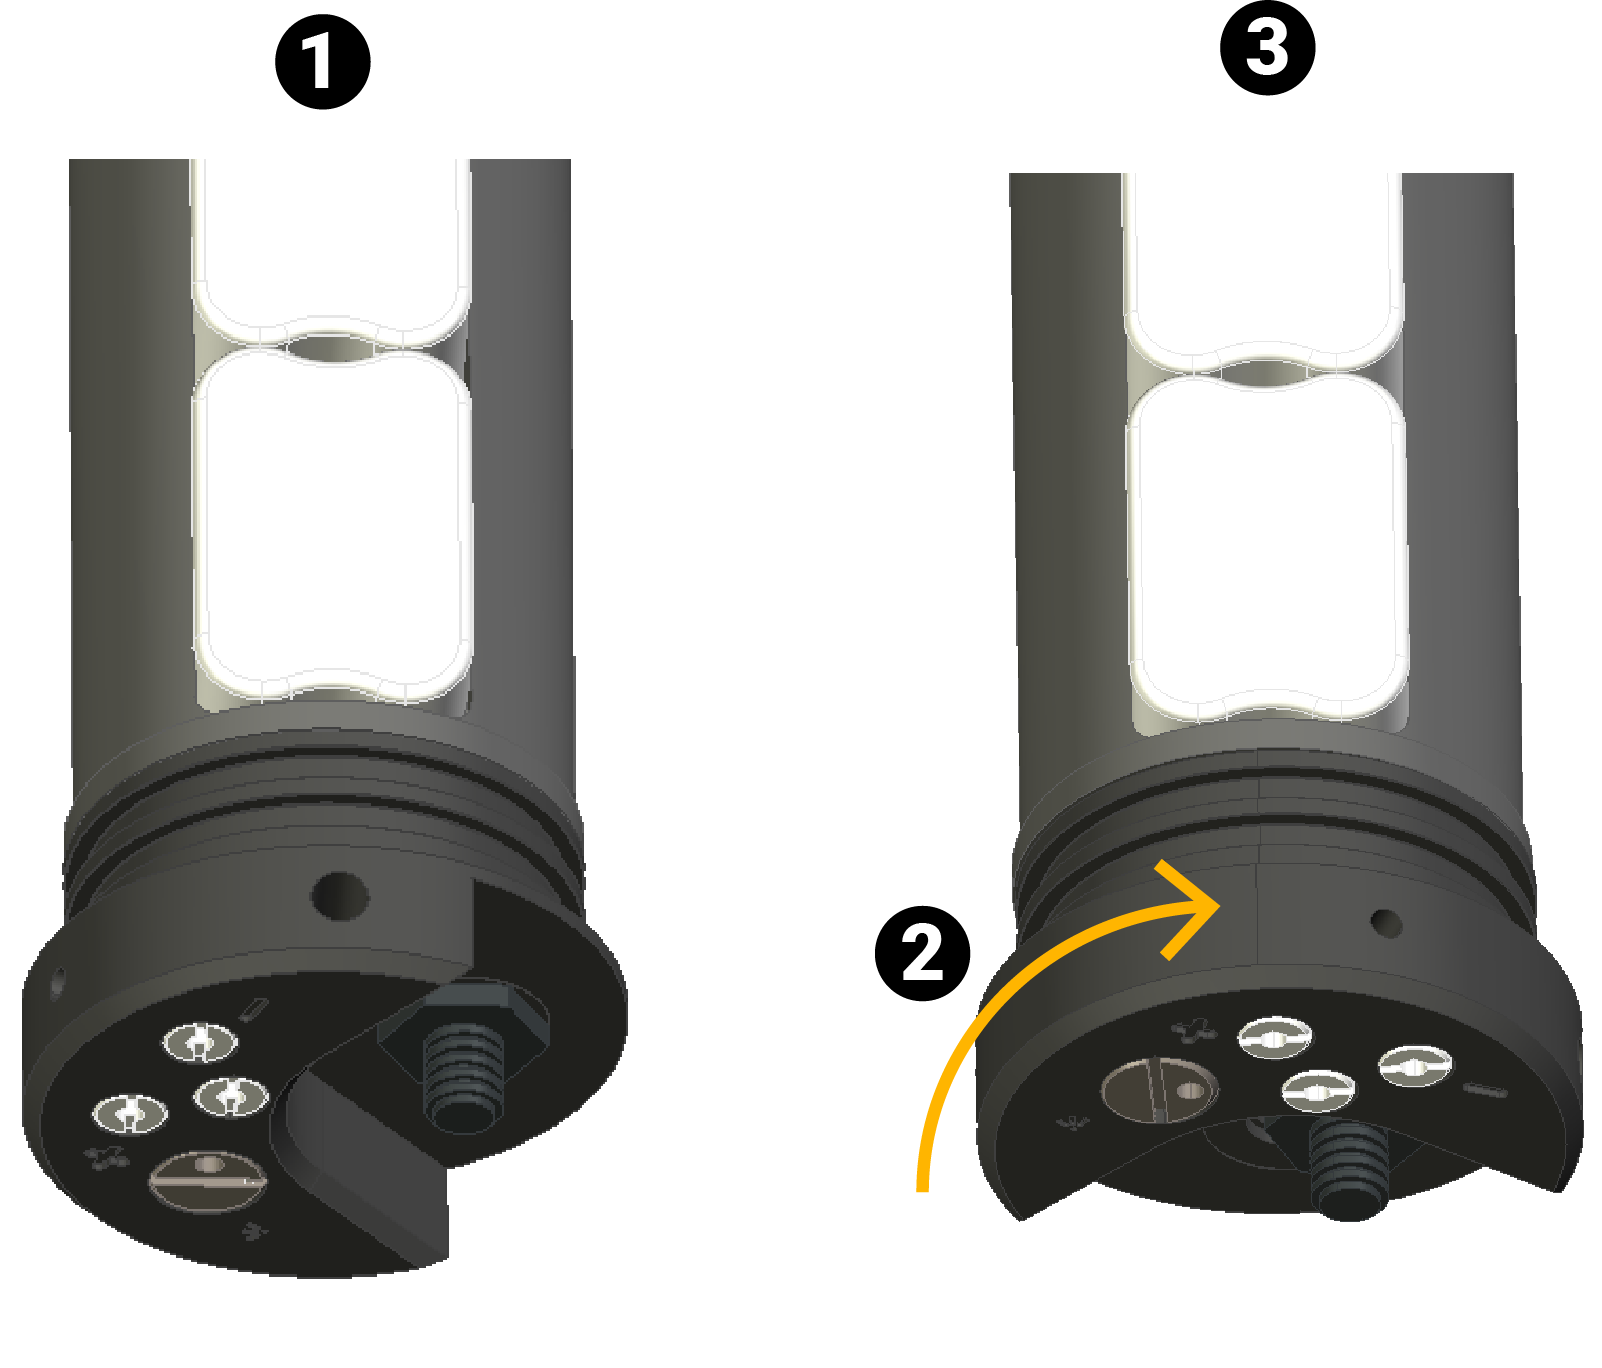 1. Before / 2. Turn 90°
to the right / 3. After
1. Before / 2. Turn 90°
to the right / 3. After- Turn to 90° the end cap as shown on the picture.
- Ensure the slots for the screws in the end cap are facing those in the housing.
- Put back the end cap.
- Put back the end cap and screw with the 1/8" Allen key (torque at 15 in-lbs / 2 N-m).
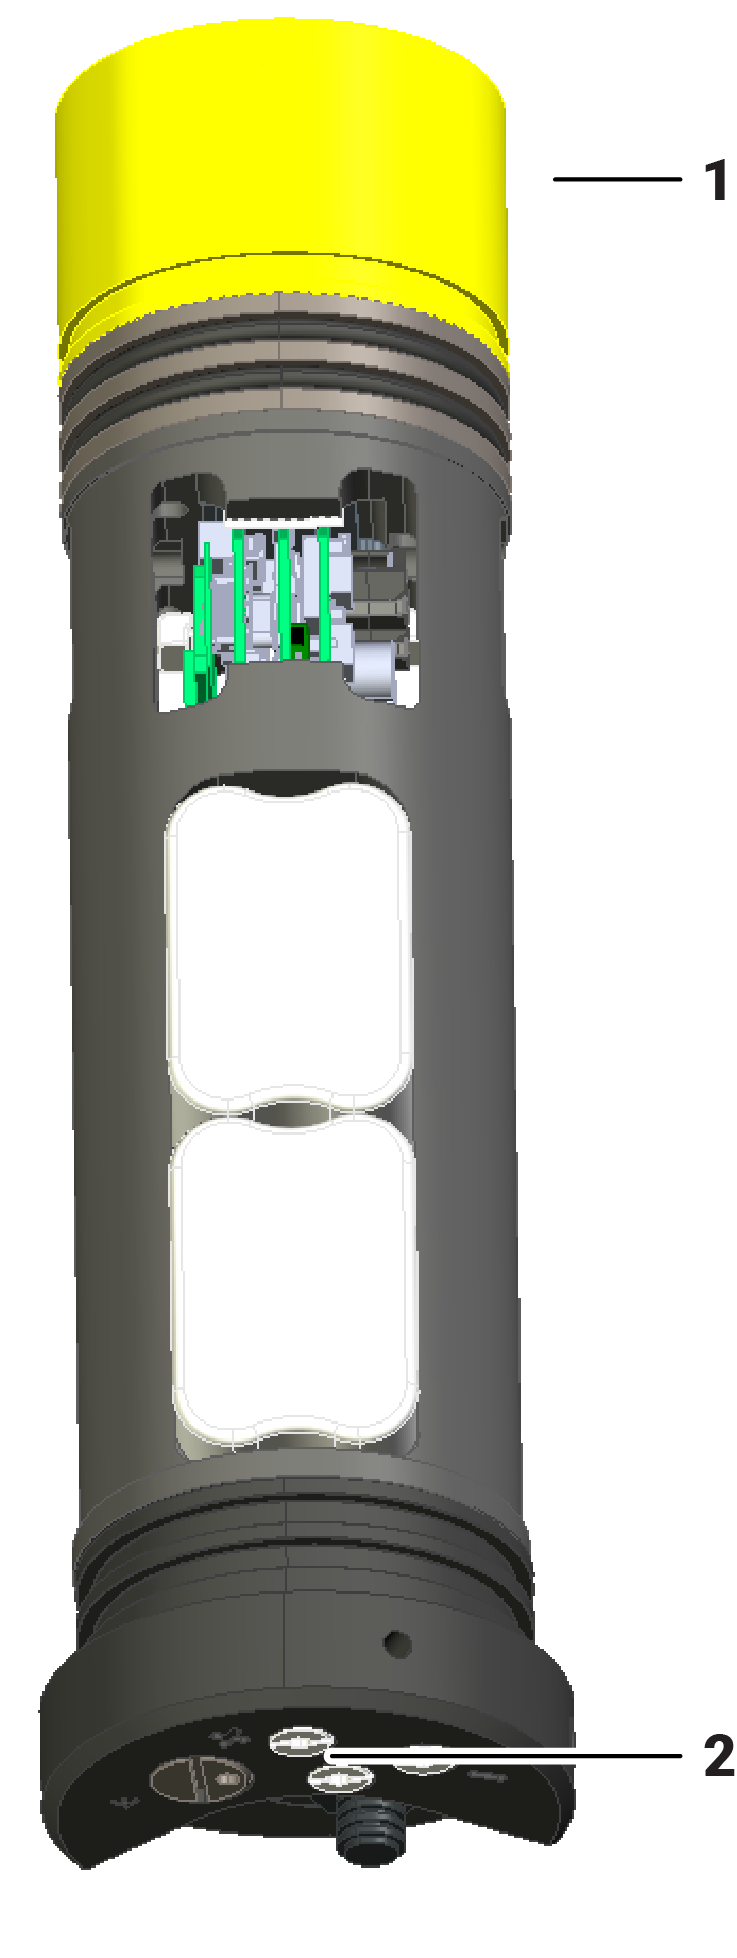
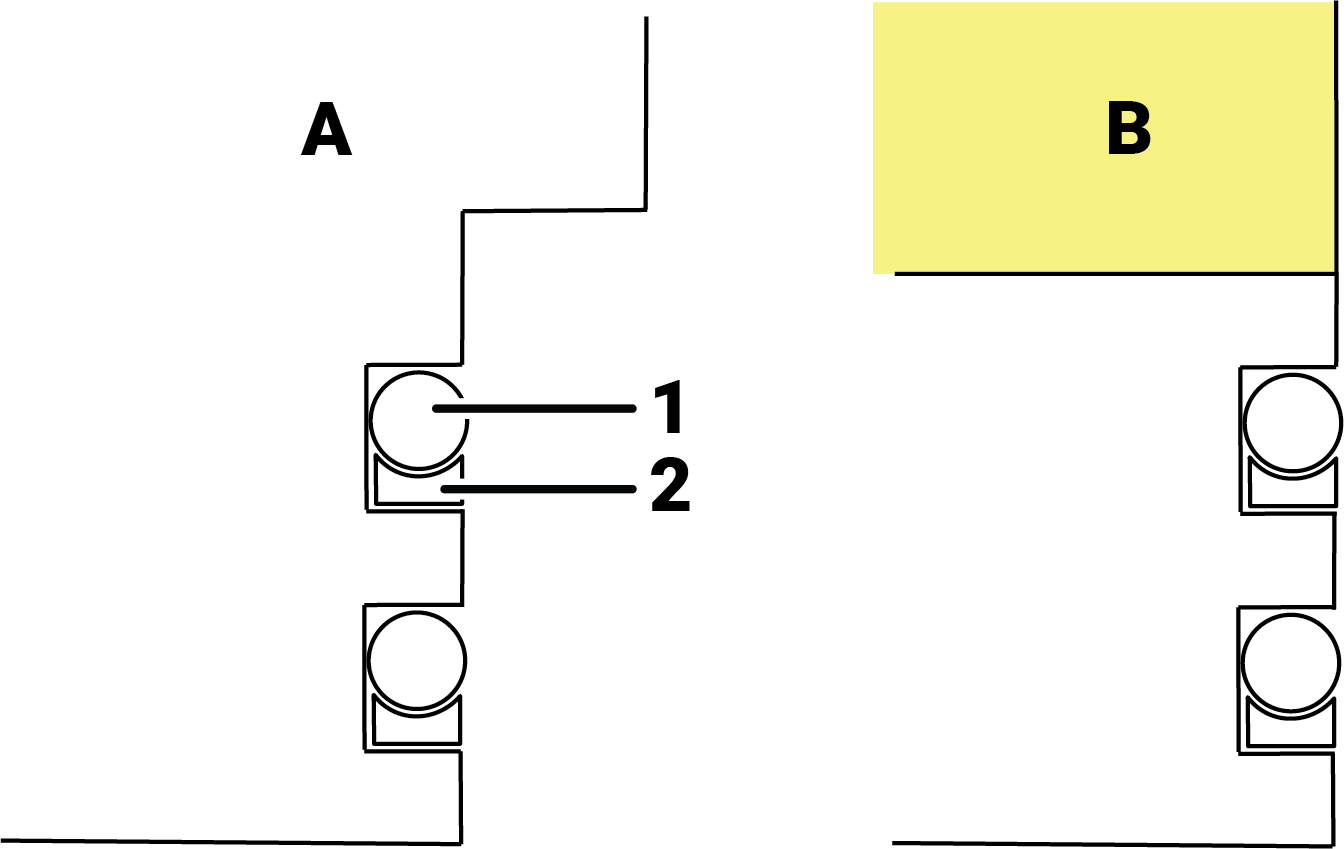
- When you have rotated the transducer and end cap, you should have the same result as on the picture.
- Protect the components and bottle.
 A. End cap / B.
Transducer
A. End cap / B.
Transducer1. Main o-ring / 2. Backup o-ring
- Replace the protective tape.
- Install 2 new static o-rings and 2 backup o-rings on the end cap and transducer as illustrated (cross-section). Inspect and fully clean the o-ring grooves.
- Check that all seals in the bottle are clean and lubricated. Apply lubricant if necessary.
What to do next
You need to set the correct transducer orientation from Mosa2.