Adding the Sensor to the Receiver
You need to add the sensors to the receiver using the system web page.
About this task
Important: To be able to add your sensor to the receiver, make sure your
receiver version is compatible. Check System Compatibility.
Note: Marport systems are limited to a fixed number of
channels, and the sensors use a specific number of channels based on the type of
data they send. The Door Explorer uses 1 sounder channel, then one PPM
channel per measure (e.g. depth, temperature,…). The Door Sensor Pro uses one PPM channel per measure.
Procedure
- From Scala2, click and enter the password copernic.
- Right-click the IP address of the receiver at the bottom of the page, then click Configure Receiver.
-
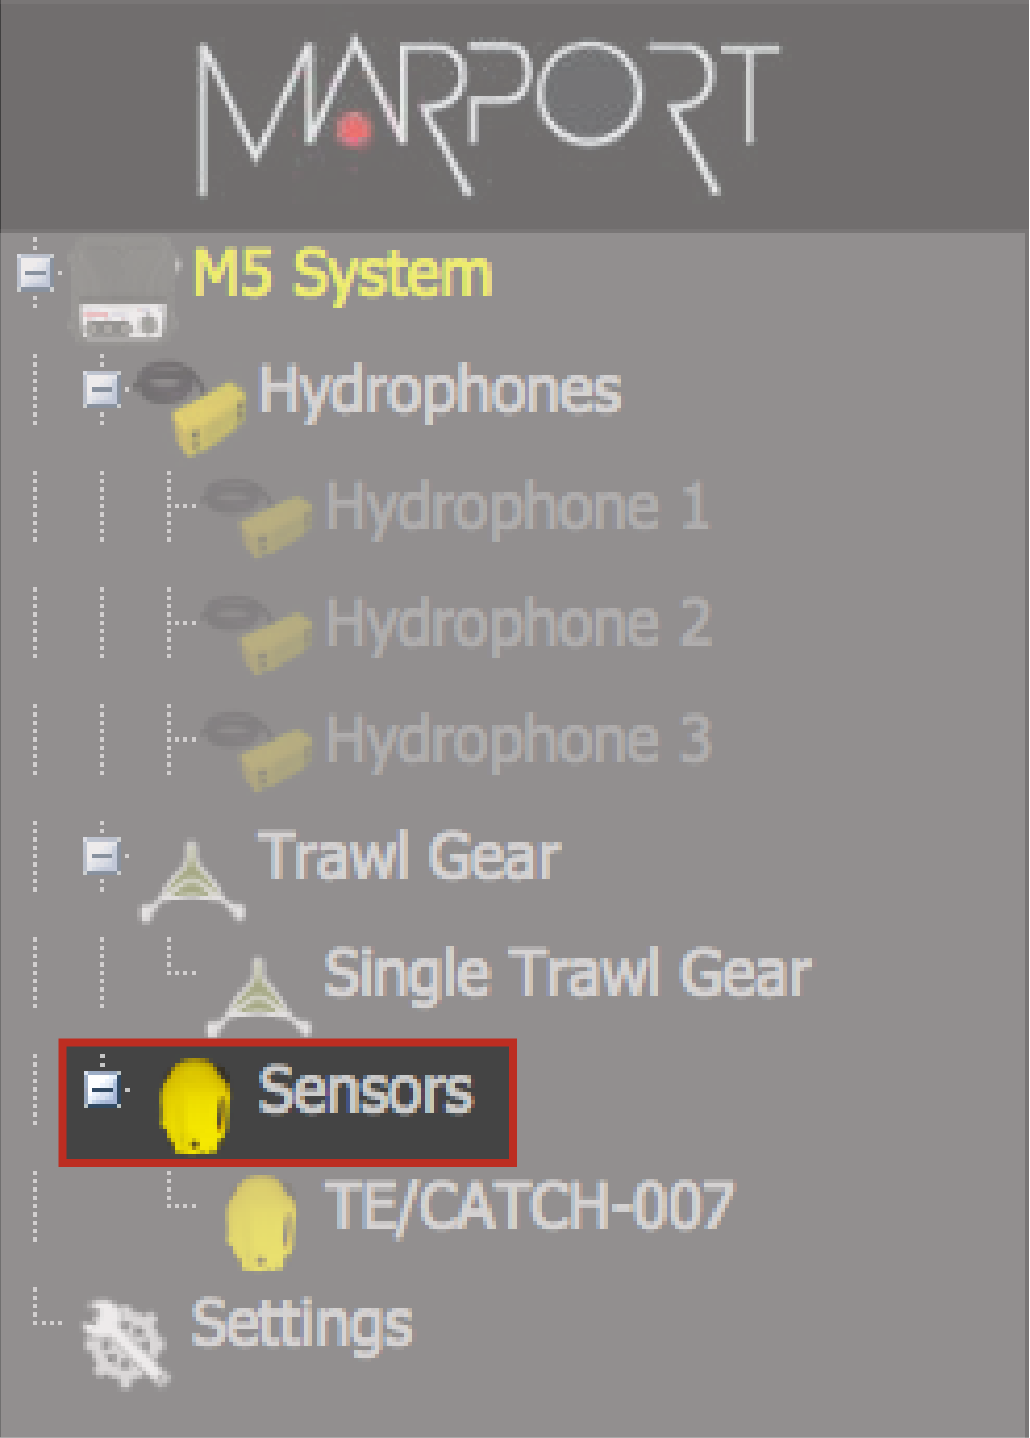
From the left side of the receiver page, click Sensors.

-
From the page Add Sensor Product, select
the options corresponding to your type of sensor:
Product Category Product Name Trawl Gear Location Spread Master Door Explorer Pro Master 23 Door Explorer Master Door Sensor Pro Master Spread Starboard Door Explorer Pro Starboard - Single trawl: 26
- Twin trawls: 123
- Triple trawls: 223
- Quadruple trawls: 323
Door Explorer Starboard Door Sensor Pro Starboard Spread Clump Door Explorer Pro Clump - Twin trawls: 26
- Triple trawls: 26, 123
- Quadruple trawls: 26, 123, 223
Door Sensor Pro Clump -
Click Add Sensor.
The sensor is added to the receiver and displayed on the left side of the screen. The configuration page is displayed.

