Adding the Sensor with a Configuration File
You can add the sensor to the receiver with a configuration file that contains the sensor settings you configured on Mosa2.
Before you begin
- You have exported an XML file containing the sensor settings (See Exporting Sensor Configuration for Receiver).
Important: You need to have Firefox version 22 to 51.
Procedure
-
Enter your receiver IP address in Firefox web browser to access the system web
page. The system web page gives access to the configuration of the
receiver.
Note: Default IP addresses are: 192.168.10.177 for M3 and M6 receivers, 192.168.1.170 for M4 receiver. Add the address as a bookmark in Firefox to easily access it.
-
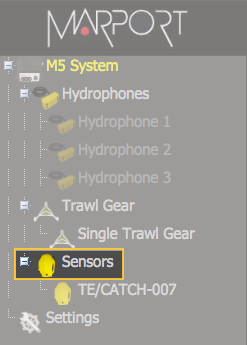
From the left side of the page, click Sensors.
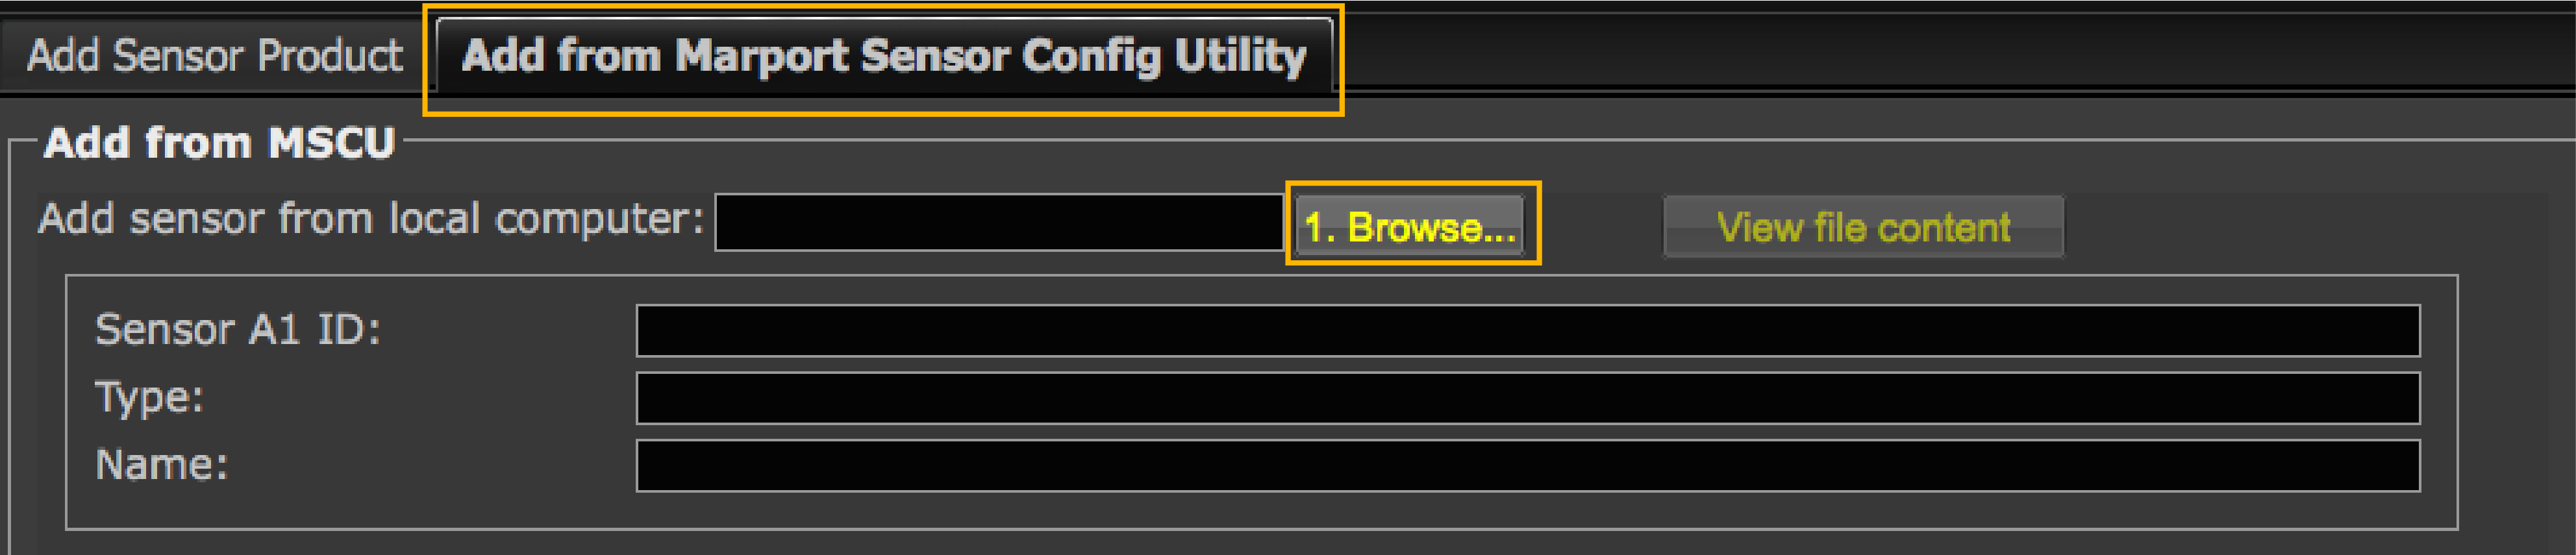
- Click the tab Add from Marport Sensor Config Utility.
-
Click Browse and select the XML file
(if you have not changed its name, it ends by
receiver).
 Information about the sensor is displayed.
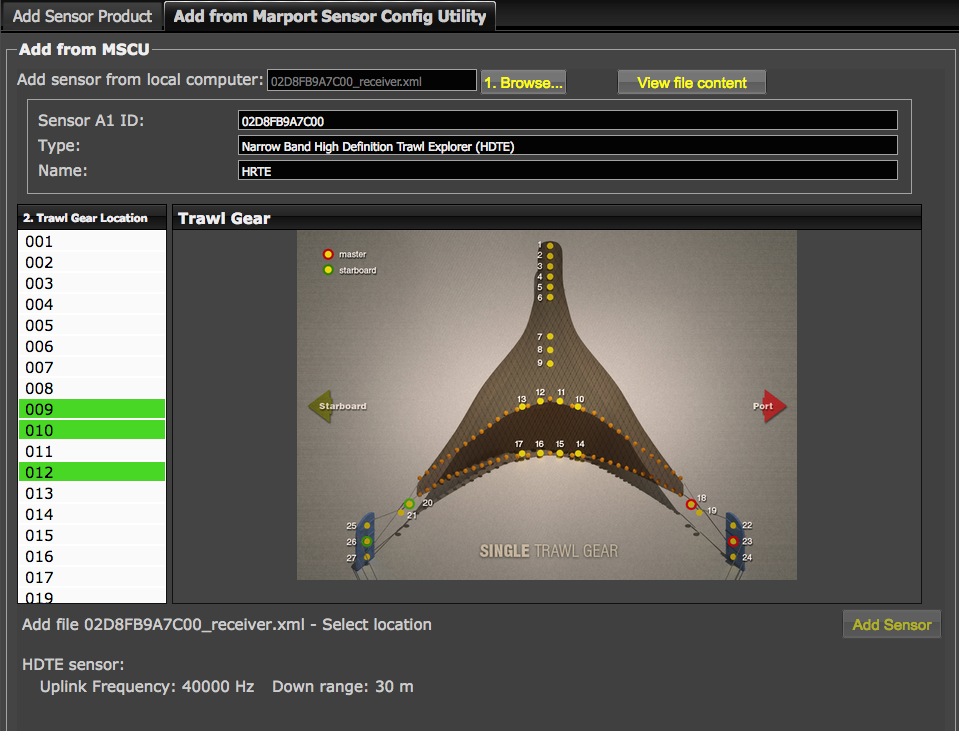
-
Select a node from the list on the left. If you defined a
node in Mosa2, make sure it is
the same. Nodes in green are already used.
Note: Nodes are numbered locations for the sensor on the trawl gear. Refer to the picture of the trawl to know the location of the node. We recommend you to choose: 7, 8 or 9 to install the sensor on the tunnel, and 10, 11, 12 or 13 to install it on the headrope.
-
Click Add Sensor.
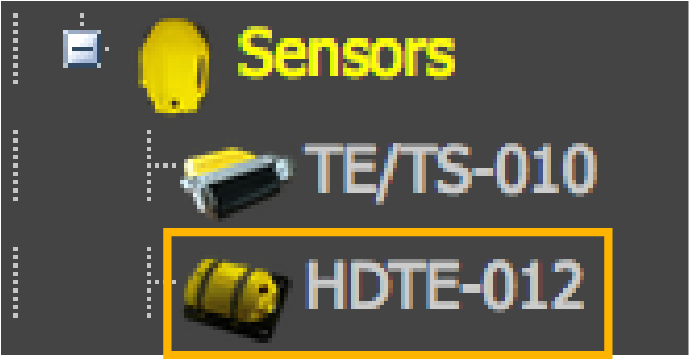
The sensor is added to the system, with all its settings.
Results
What to do next
- If you want to apply filters on data received by the sensor, see Configuring the Sensor Settings.
- You can now configure the display of incoming data in Scala2.