Configuring the Uplink, Up (Side) and Down Settings
You can configure different settings for uplink, down and up (side) soundings.
Before you begin
About this task
- If your Seine Explorer has only a down sounding (product number 46-134-1-01), ignore the settings for up sounding.
- If your Seine Explorer has down and side soundings, configure the side sounding via the up sounding settings.
Remember: Always click Apply after you change a setting and make sure there is a
green check mark  .
.
Procedure
Click the tab Trawl Explorer.
Uplink
Procedure
-
From TE Uplink
Frequency, enter a frequency
for the signal toward the vessel.
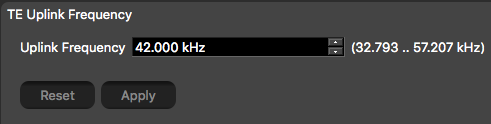 Important: This parameter must be the same in the sensor settings in Scala2.
 -
You can add a delay to the update of data to increase battery lifetime:
-
Click Menu
 > Expert Mode
and enter the
password copernic.
> Expert Mode
and enter the
password copernic.
- From Delay Prp, enter a delay between 1 and 5 seconds.
-
Click Menu
-
From Option True Mode, select Config2. This setting is specific to Seine Explorer sensors and needs to be applied. You will
be able to see the descent rate of the lead line.
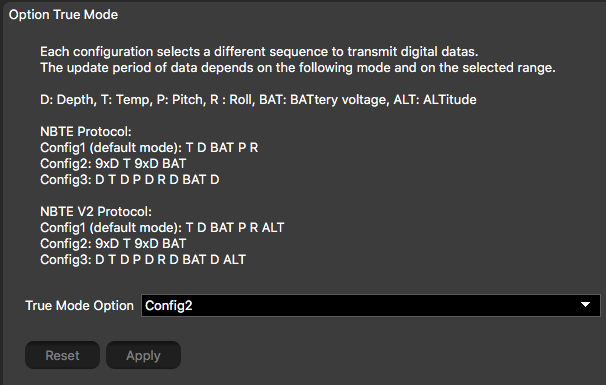 Note: If you select Config1 or Config3, the echogram image will be irregular.Note: There is no pitch and roll on Seine sensors.
Up/Down Soundings
Procedure
-
From NBTE Setup Options, select the sounding
mode (see Sounding Modes for more information).
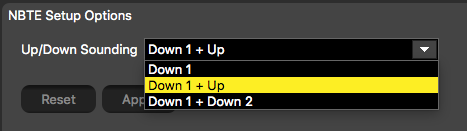 Important: Down 1 + Down 2 sounding mode: configure Down 1 sounding in Down settings and Down 2 sounding in Up settings (Up Sounding Range, Ping Up Length, Ping Up Frequency, Up channel minimum TS, Up TVG Mode, TVG Up).Note: The Up settings correspond to the side sounding.
 -
From Down Sounding Range and, if applicable, Up Sounding Range, select the range according to how many meters
you want to see under the sensor. We recommend an up (side)
sounding range of 80 m.
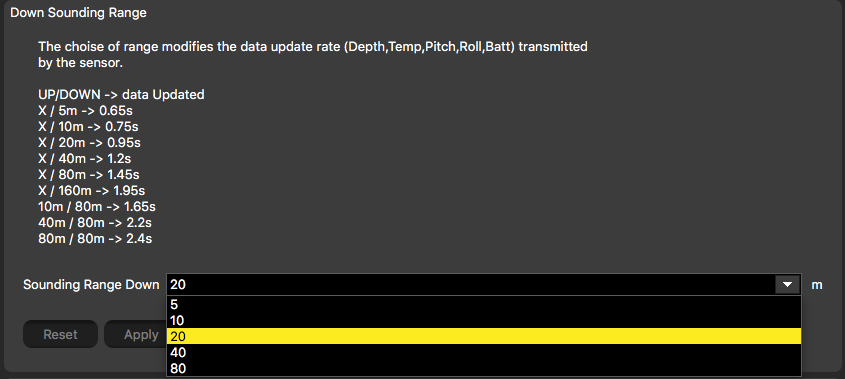 Note: Range influences the display of echogram images. The smaller the range, the shorter the listening time and the better the quality of images. But if you set a bigger range, data arrives slower which results in poorer image quality. If you are using Down 1 + Up or Down 1 + Down 2 sounding mode, the image quality is even lower, as explained in Sounding Modes.Note: The range of the down sounding can automatically change to 20 meters if the distance to the bottom becomes lower than 20 meters and if you entered a trawl opening lower than 20 m. See next step to activate or not this feature.Important: This parameter must be the same in the sensor settings in Scala2.
 -
From Trawl Opening,
enter 0. The opening needs to be lower than 20 m to have the autorange
feature. Otherwise this setting is not useful for a Seine Explorer.
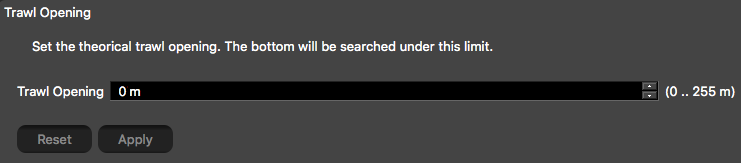 Important: If you use Down 1 + Down 2 sounding mode, enter 20 m or more to deactivate the autorange feature because it creates wrong data on the echogram.
 -
From Ping Down Length and, if applicable,
Ping Up Length, enter a pulse length. Choose a
pulse length according to the distance at which you need to detect
fish.Choose a pulse length according to the
distance at which you need to detect fish or the bottom. (the
longer the pulse, the further you can see, but with a lower
resolution):
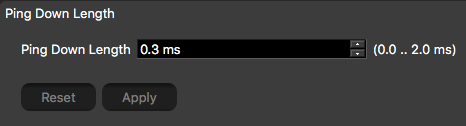
- Detection between 20 cm and 2 m: enter 0.1 ms
- Detection between 50 cm and 160 m (V2: up to 80 m): enter 0.3 ms (Recommended).
Note: The maximum detection depth depends on ping frequency and type of bottom. The lower the ping frequency is, the longer the detection depth is. -
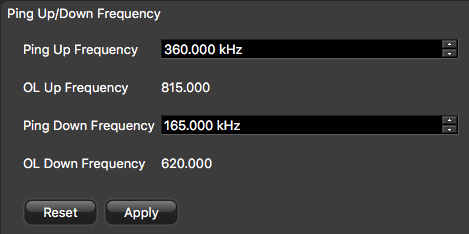
To change up (side) and down frequencies:
-
From Ping Down
Frequency, enter a
frequency between 120-210 kHz (recommended is 165 kHz).
 Important:
 Do not change ping frequency on a V3 sensor or it will have to be returned to a Marport sales' office for target strength
calibration.
Do not change ping frequency on a V3 sensor or it will have to be returned to a Marport sales' office for target strength
calibration.
-
From Ping Down
Frequency, enter a
frequency between 120-210 kHz (recommended is 165 kHz).
Target Strength
Procedure
-
 For V3 version of sensors, Down channel minimum
TS helps you
detecting targets on the echogram. You can put -79 dB if you want to detect
small targets. Otherwise, leave the default settings at -73 dB.
For V3 version of sensors, Down channel minimum
TS helps you
detecting targets on the echogram. You can put -79 dB if you want to detect
small targets. Otherwise, leave the default settings at -73 dB.  Important: This parameter must be the same in the sensor settings in Scala2.
 -
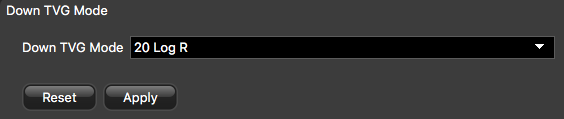
From Down TVG Mode, select the appropriate
TVG (Time Variable Gain) mode. See About Time Variable Gain for more
information.
Select 20 log to see the bottom in the same color, whatever its distance from the sensor.

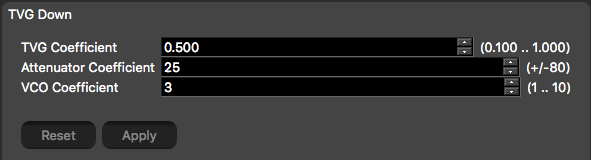
- From TVG Coefficient, enter 0.500 to see the bottom in the same color, whatever its distance from the sensor.
- From Attenuator Coefficient, enter 25.
- Leave VCO Coefficient default settings at 3.