Using the Virtual Charger Room
You can configure the latest generation of sensors from Scala2 Virtual Charger Room when they are connected to the Dock.
Main page
To open the Virtual Charger Room, click on the top left corner of the screen.
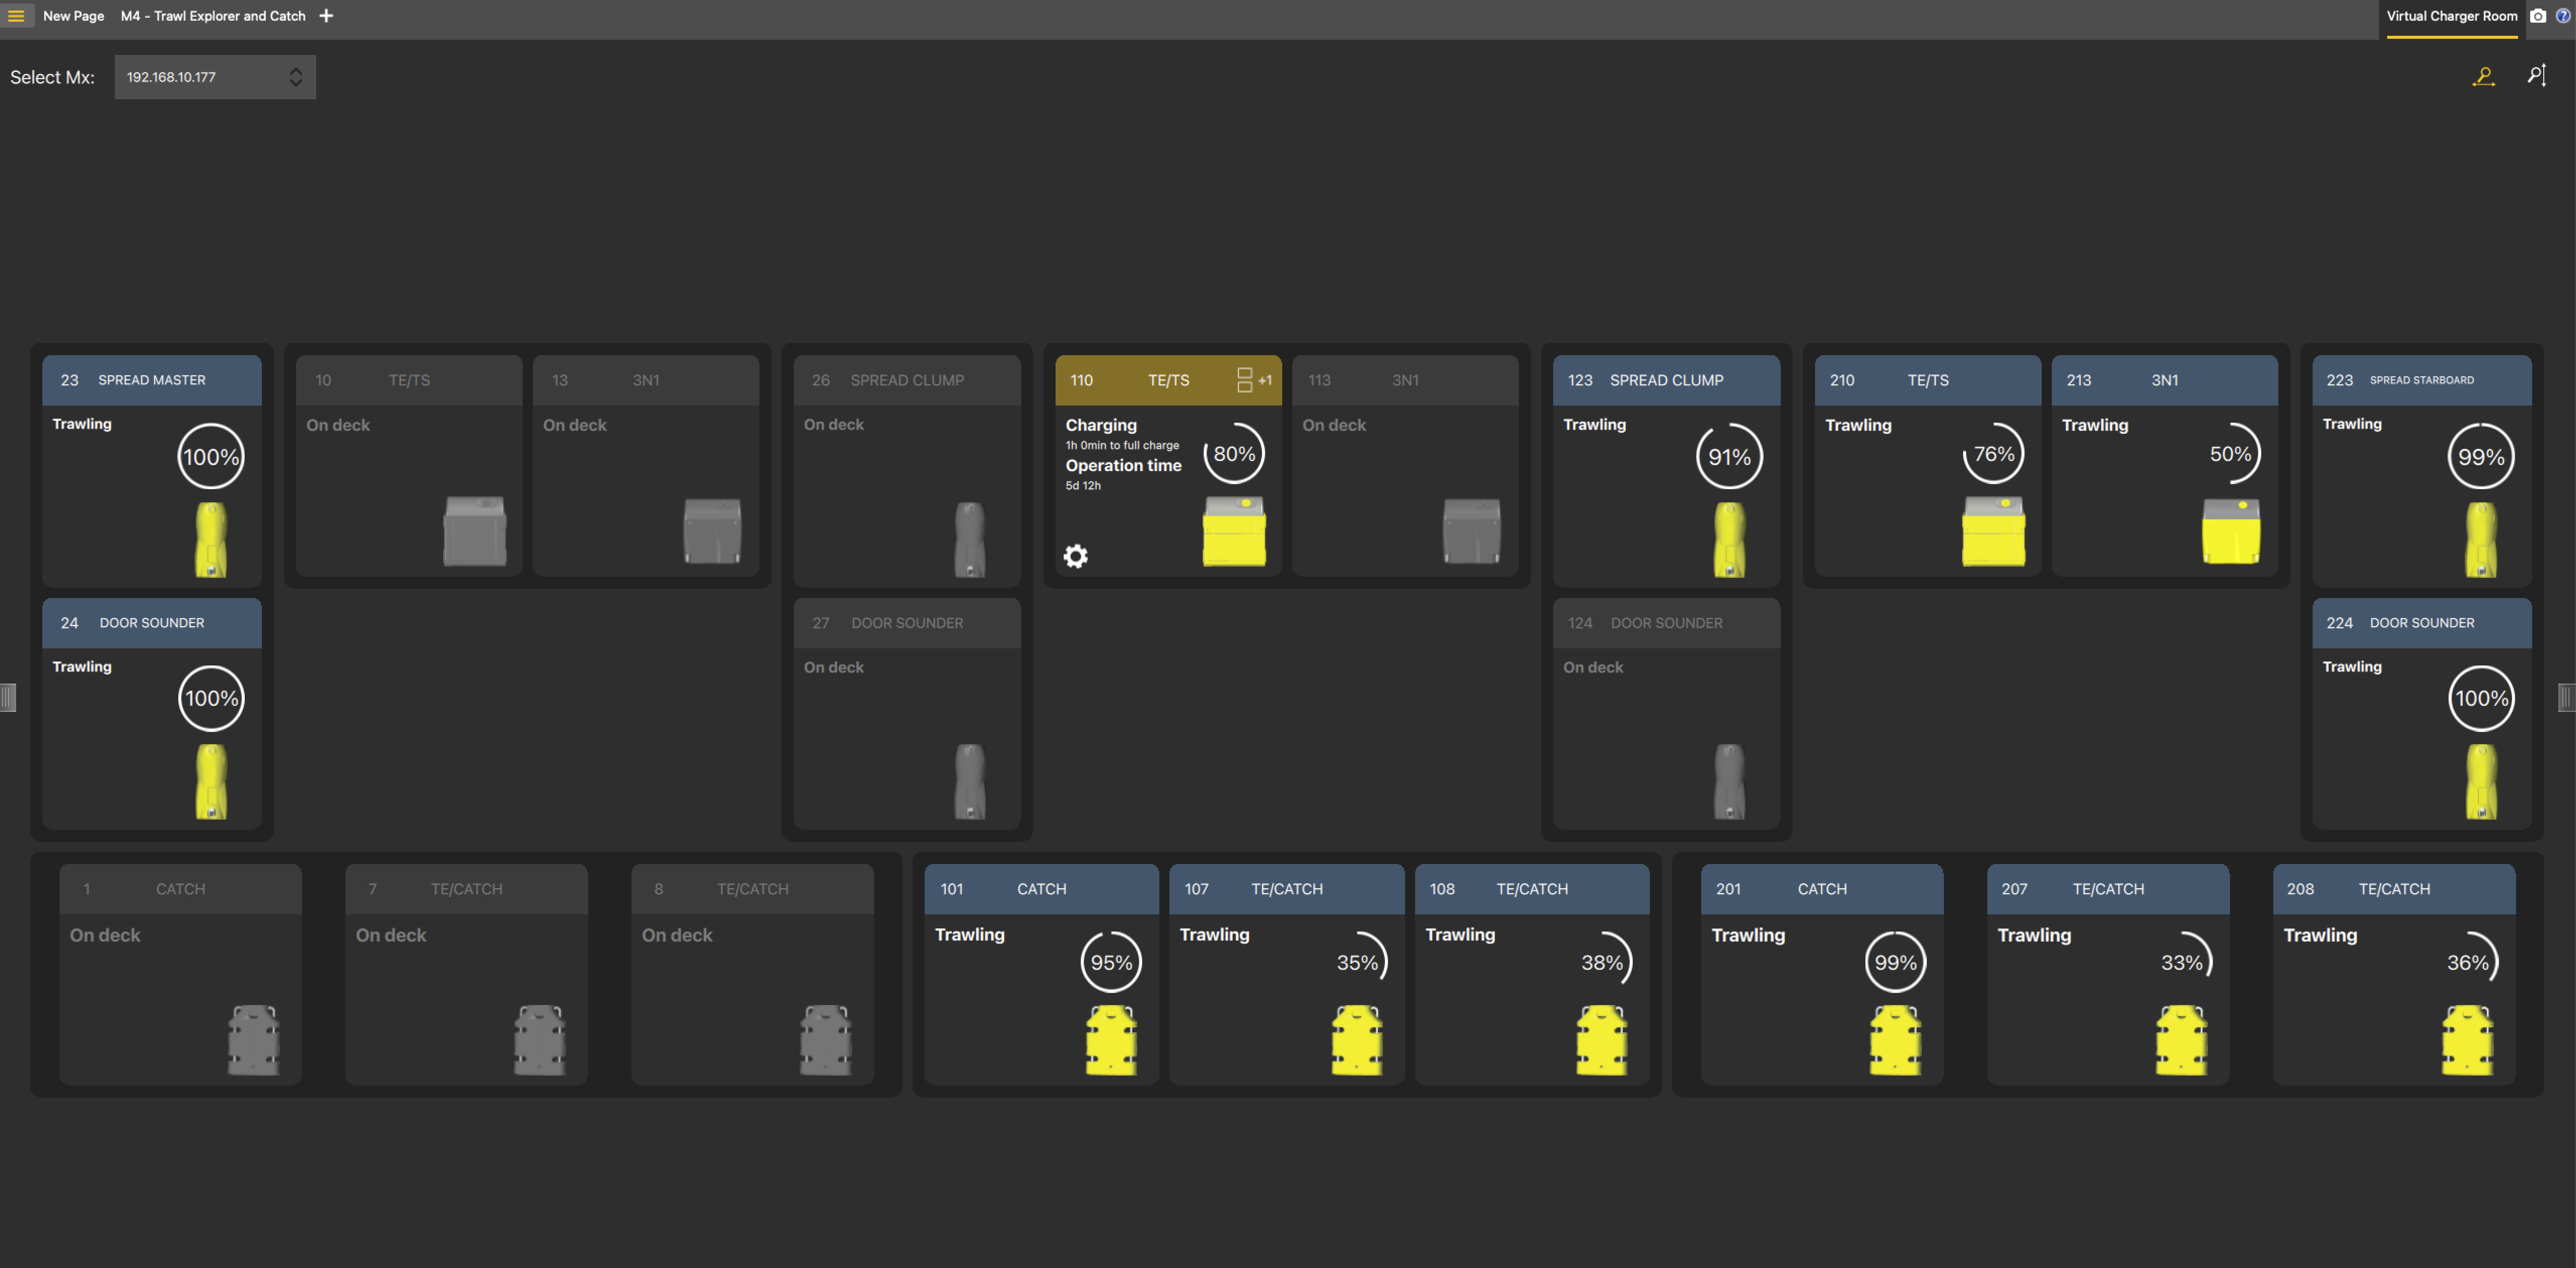
Each sensor that is part of the fleet appears on a tile. The tiles are placed according to the sensor location on the trawl, depending on the configuration that was made in the system configuration page.
To fit the view according to the width of the tiles click ![]() ,
or click
,
or click ![]() to fit according the height.
to fit according the height.
 |
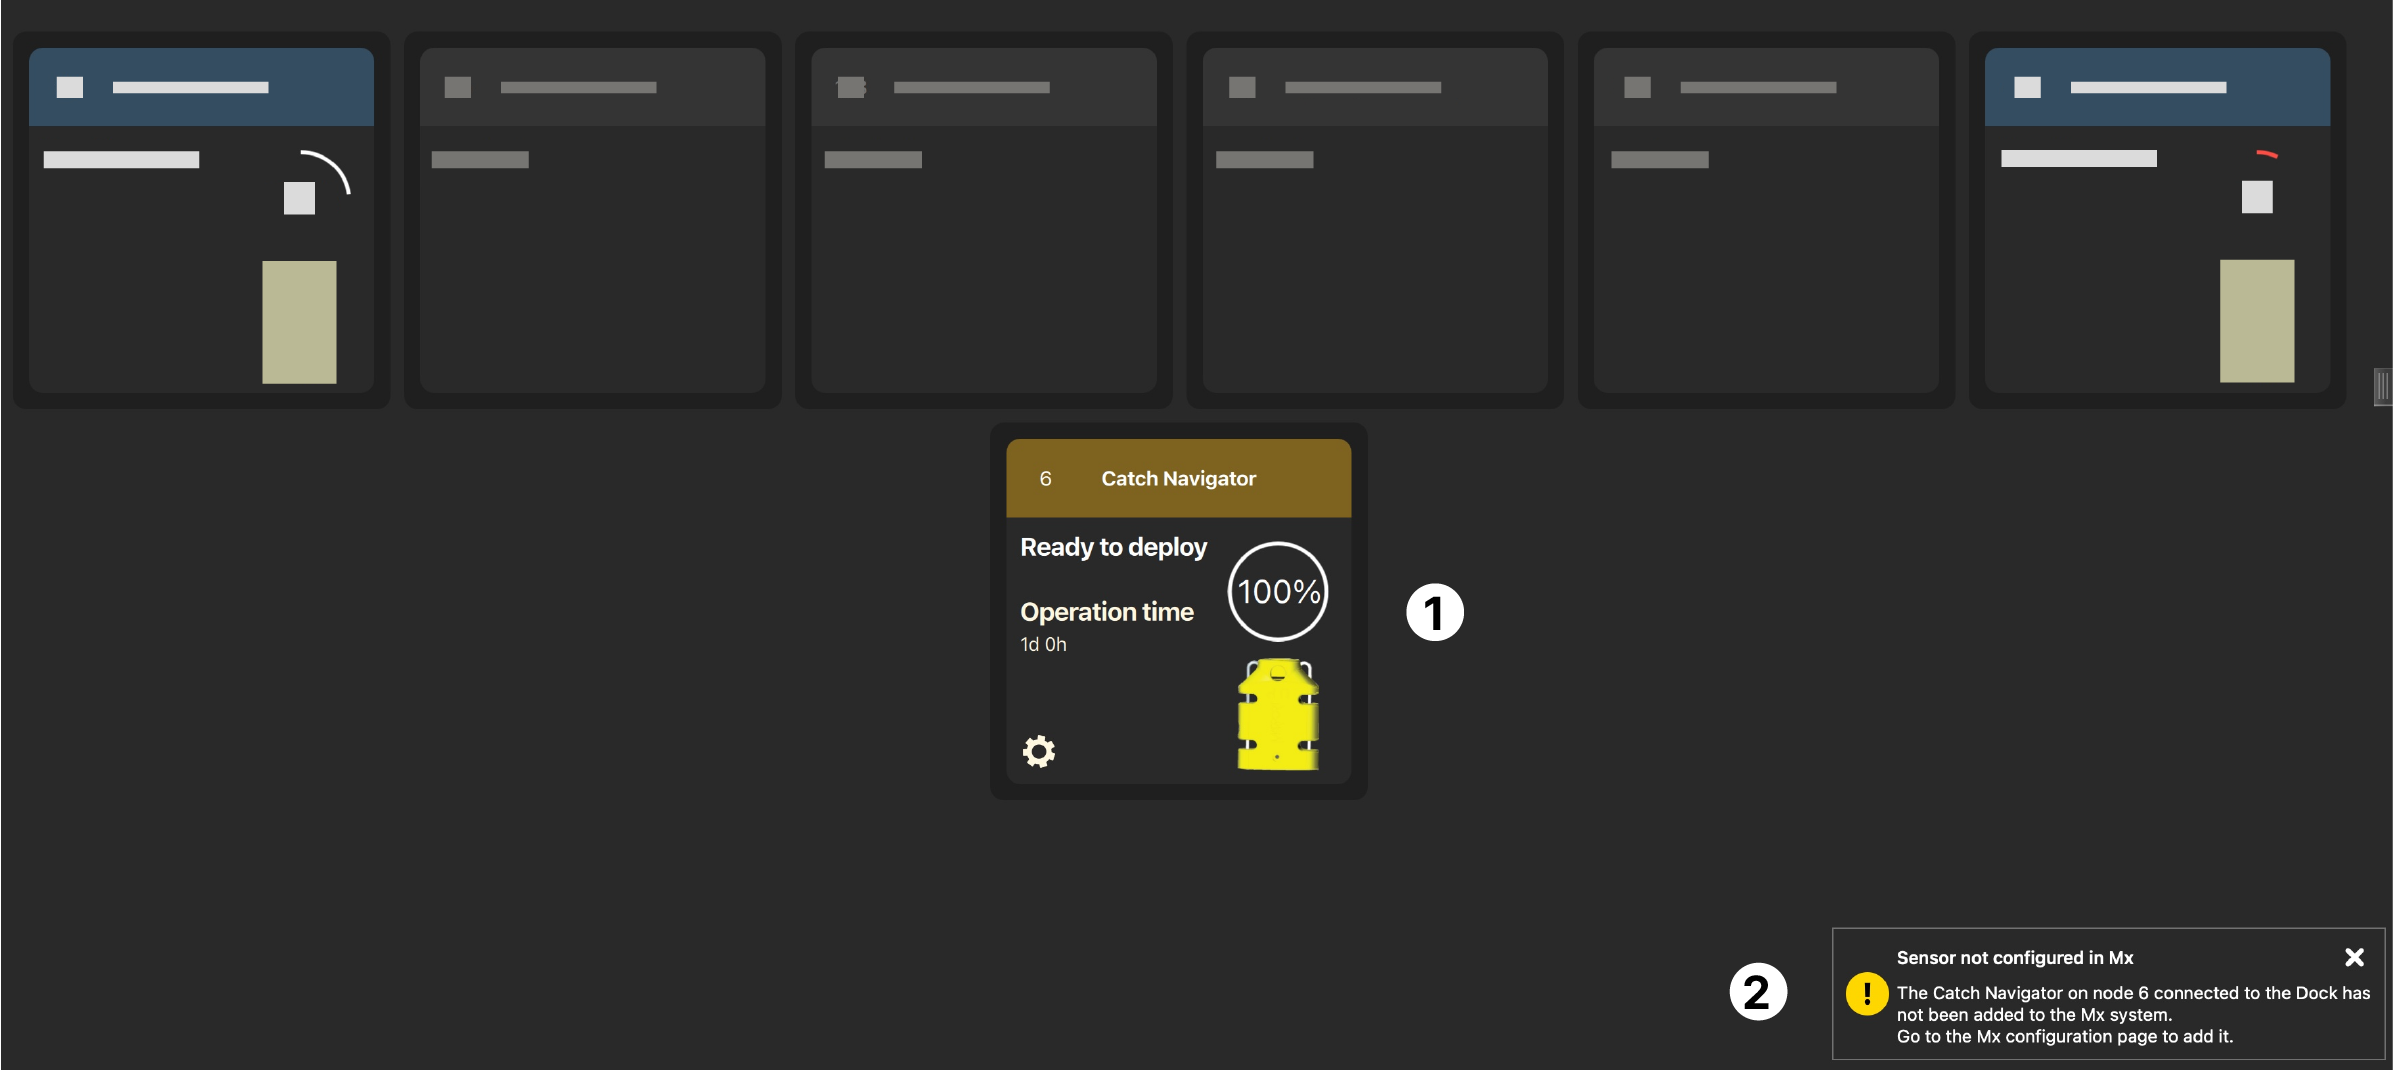
When a sensor that has not been added to the system is connected to the Dock, it is displayed underneath the other sensors (1). Only the charging status appears. A notification (2) also warns the user that the sensor is not part of the system configuration. When disconnected, the sensor is not displayed anymore.
Sensor status
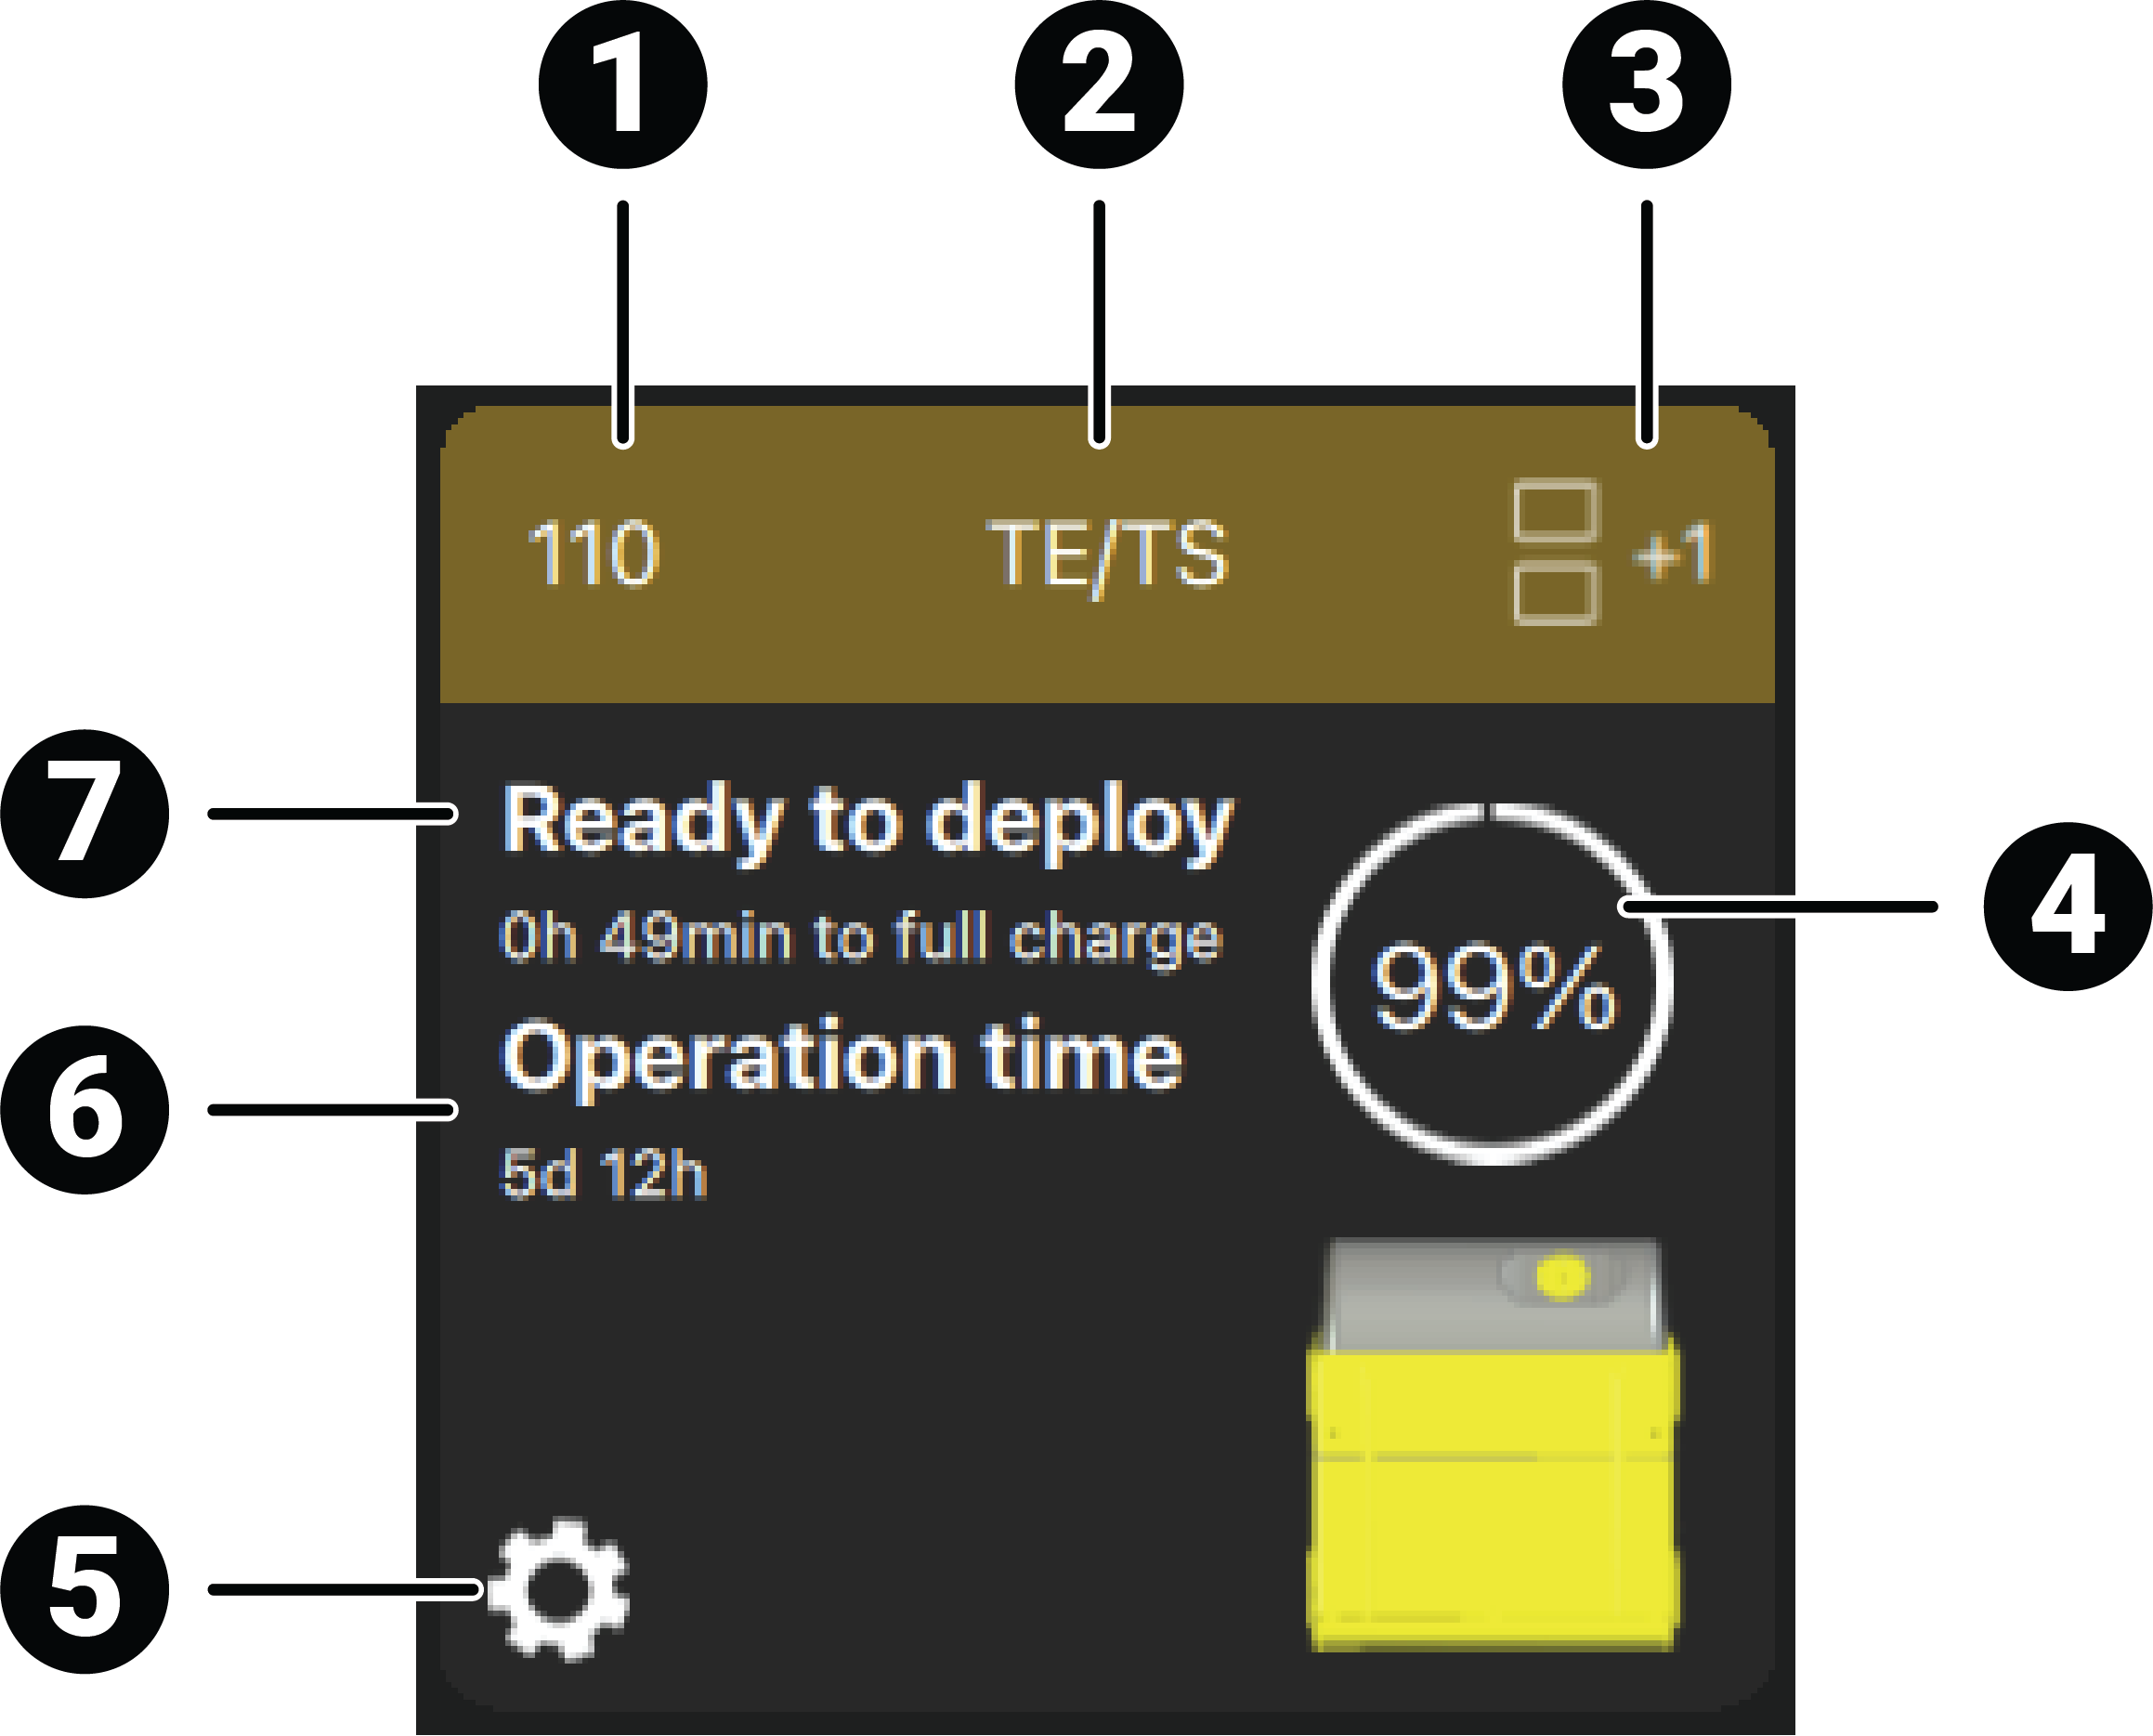 |
1. Node identifying the location of the sensor on the trawl. |
| 2. Name of the application | |
| 3. If any, number of spare sensors. Click to show the other spare sensors. | |
| 4. Charging level | |
| 5. Access to the settings. | |
| 6. Remaining lifetime at the current state of charge. | |
| 7. Sensor status |
 |
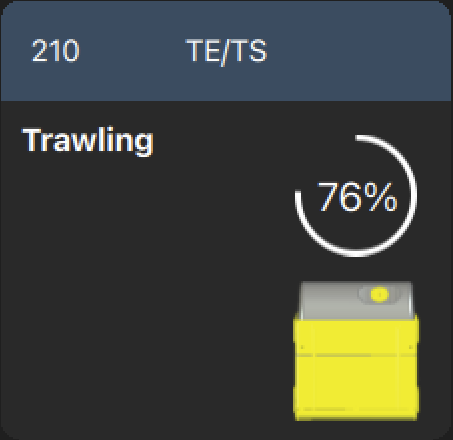 |
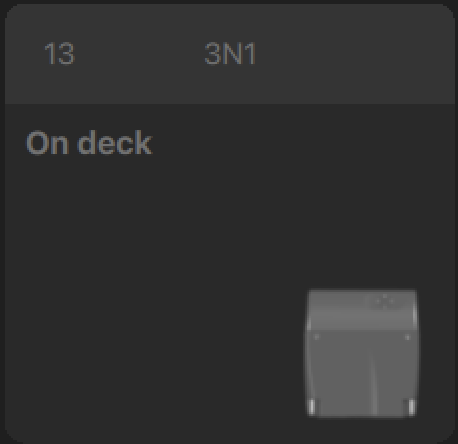 |
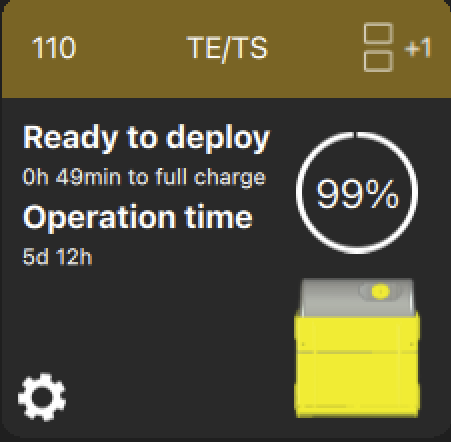
| The sensor is connected to the Dock and charging. It displays
Ready to deploy when fully
charged. Click
|
The sensor is operating on the trawl. | The sensor is out of water and is not connected to the Dock. |
Notifications

- Uplink frequency
- Sounding mode (when available)
- Sounding range (when available)
- PRP sensors: telegram names and frequencies
